
Introduction to WebGPU
WebGPU represents a significant leap forward for graphics and computation on the web. It provides modern GPU features, lower overhead, and better performance than its predecessor, WebGL. Unlike WebGL, which is based on OpenGL ES, WebGPU is designed with modern GPU architectures in mind, offering a more direct and efficient interface to the underlying hardware. This tutorial aims to guide developers through the practical implementation of WebGPU, moving from basic setup to complex rendering pipelines.
The core of WebGPU development involves understanding its object-oriented API. Key objects include GPUDevice, which represents the GPU, and its associated queues for submitting work. Resources like GPUBuffer and GPUTexture are managed explicitly, requiring careful handling of memory and data transfer. This explicit control is a departure from WebGL's more implicit model, demanding a deeper understanding of GPU operations but ultimately enabling greater performance and flexibility.
Setting Up Your WebGPU Environment
Getting started with WebGPU requires a compatible browser and a few setup steps. Modern browsers like Chrome, Firefox, and Edge have WebGPU support, though it might still be behind a flag in some versions. You’ll need to request an adapter from the browser, which represents the physical GPU, and then request a device from that adapter. This device object is your primary interface for all GPU operations.
The request process looks like this:
async function initWebGPU() {
  if (!navigator.gpu) {
    throw new Error('WebGPU not supported on this browser.');
  }

  const adapter = await navigator.gpu.requestAdapter();
  if (!adapter) {
    throw new Error('No appropriate GPUAdapter found.');
  }

  const device = await adapter.requestDevice();
  return device;
}

initWebGPU().then(device => {
  console.log('WebGPU device initialized:', device);
}).catch(error => {
  console.error('WebGPU initialization failed:', error);
});
This basic setup establishes a connection to the GPU. From here, you can start creating buffers, textures, and shaders. The explicit nature of WebGPU means you need to manage these resources throughout their lifecycle, ensuring they are properly created, used, and eventually destroyed to prevent memory leaks.
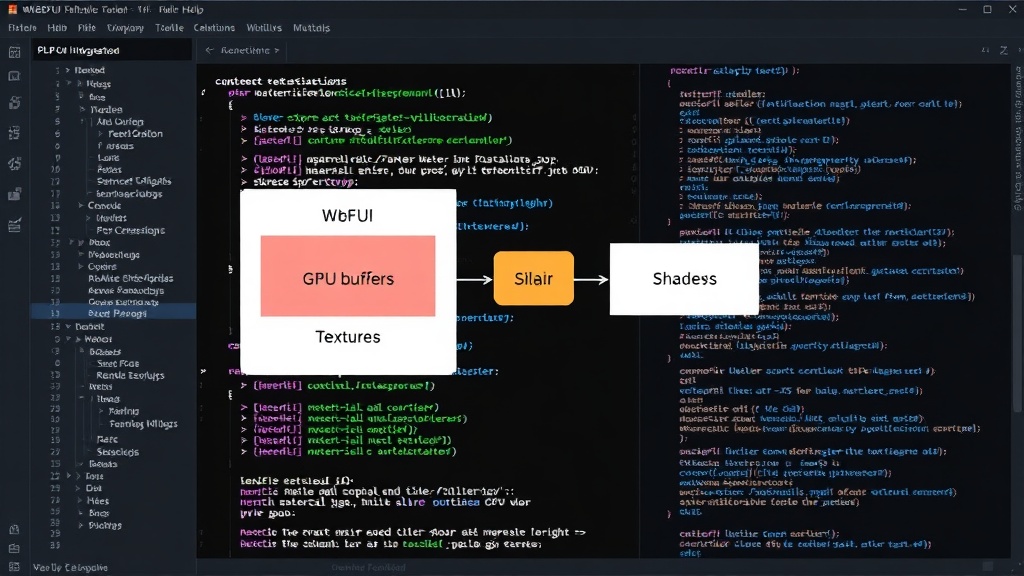
Understanding GPU Buffers and Textures
GPUBuffer objects are used to store vertex data, index data, uniform values, and storage data. Creating a buffer involves specifying its size, usage flags (e.g., vertex, index, uniform, storage), and whether it can be mapped for CPU access. Data is written to buffers either by mapping them and writing directly to the ArrayBuffer or by using a staging buffer for asynchronous transfers.
GPUTexture objects store image data, used for rendering to the screen (framebuffers) or for sampling in shaders (e.g., diffuse maps, normal maps). Creating textures involves defining their dimensions, format (e.g., 'rgba8unorm'), mip level count, and sample count. Textures are often populated using staging buffers or generated procedurally.
Working with Shaders and Pipelines
Shaders are programs that run on the GPU. WebGPU uses WGSL (WebGPU Shading Language), a modern, Rust-inspired language designed for safety and performance. WGSL shaders are compiled into an intermediate representation that the GPU driver can translate into native machine code. Unlike GLSL in WebGL, WGSL is more explicit and less prone to driver quirks.
A typical WebGPU rendering pipeline consists of several stages, defined by a GPURenderPipeline. This includes:
- Vertex Shader: Processes individual vertices, transforming their positions and passing attributes to the fragment shader.
- Fragment Shader: Processes individual fragments (potential pixels), determining their final color.
- Pipeline Layout: Defines the bindings between shader resources (uniforms, textures, storage buffers) and the pipeline.
- Render Pass Descriptor: Configures render targets (framebuffers, depth buffers) and clear/load/store operations.
Creating a pipeline involves defining these components. For example, a simple vertex shader might look like this:
@vertex
fn vs_main(@location(0) position: vec4) -> @builtin(position) vec4 {
  return position;
}
And a corresponding fragment shader:
@fragment
fn fs_main() -> @location(0) vec4 {
  return vec4(1.0, 0.0, 0.0, 1.0); // Red color
}
These shaders are then bundled into a GPUShaderModule and used to create the GPURenderPipeline. The explicit setup of pipelines ensures that the GPU knows exactly how to process the incoming data, leading to predictable and high performance.
Rendering a Triangle: A Practical Example
Let's combine these concepts to render a simple triangle. First, we need vertex data. We’ll create a GPUBuffer to hold the triangle's corner coordinates.
const vertices = new Float32Array([
  0.0,  0.5,
 -0.5, -0.5,
  0.5, -0.5
]);

const vertexBuffer = device.createBuffer({
  size: vertices.byteLength,
  usage: GPUBufferUsage.VERTEX | GPUBufferUsage.COPY_DST,
  // Use COPY_DST for data uploaded from staging buffer
});

device.queue.writeBuffer(vertexBuffer, 0, vertices);
Next, we define the WGSL shaders and create the render pipeline. For simplicity, we'll use inline shader code, but in a real application, these would typically be separate strings or files.
const shaderModule = device.createShaderModule({
  code: `
    @vertex
    fn vs_main(@location(0) position: vec4) -> @builtin(position) vec4 {
      return position;
    }

    @fragment
    fn fs_main() -> @location(0) vec4 {
      return vec4(1.0, 0.0, 0.0, 1.0); // Red color
    }
  `
});

const pipeline = device.createRenderPipeline({
  layout: 'auto',
  vertex: {
    module: shaderModule,
    entryPoint: 'vs_main',
    buffers: [
      {
        arrayStride: 2 * Float32Array.BYTES_PER_ELEMENT, // 2 floats per vertex (x, y)
        attributes: [
          {
            shaderLocation: 0,
            offset: 0,
            format: 'float32x2'
          }
        ]
      }
    ]
  },
  fragment: {
    module: shaderModule,
    entryPoint: 'fs_main',
    targets: [
      {
        format: navigator.gpu.getPreferredCanvasFormat()
      }
    ]
  },
  primitive: {
    topology: 'triangle-list'
  }
});
Finally, we set up the render pass and issue the draw command. This involves getting the canvas context, creating a view for the swap chain (which presents rendered frames to the canvas), and recording commands to a command buffer.
const canvas = document.getElementById('gpu-canvas');
const context = canvas.getContext('webgpu');
const presentationFormat = navigator.gpu.getPreferredCanvasFormat();

context.configure({
  device: device,
  format: presentationFormat,
  alphaMode: 'opaque'
});

const commandEncoder = device.createCommandEncoder();
const textureView = context.getCurrentTexture().createView();

const renderPassDescriptor = {
  colorAttachments: [
    {
      view: textureView,
      clearValue: { r: 0.0, g: 0.0, b: 0.0, a: 1.0 }, // Clear to black
      loadOp: 'clear',
      storeOp: 'store'
    }
  ]
};

const passEncoder = commandEncoder.beginRenderPass(renderPassDescriptor);
passEncoder.setPipeline(pipeline);
passEncoder.setVertexBuffer(0, vertexBuffer);
passEncoder.draw(3); // Draw 3 vertices for a triangle
passEncoder.end();

device.queue.submit([commandEncoder.finish()]);
This sequence demonstrates the fundamental steps: setting up the device, creating buffers, defining shaders and pipelines, and issuing draw calls. The explicit management of resources and command encoding is key to WebGPU's performance model.
Advanced Concepts: Compute Shaders and More
Beyond rendering, WebGPU excels at general-purpose GPU computation via compute shaders. These shaders operate on arbitrary data stored in buffers and textures, enabling tasks like physics simulations, machine learning inference, and data processing. Compute shaders are dispatched using dispatchWorkgroups, which defines the number of workgroups to execute. This opens up possibilities for highly parallelized tasks directly within the browser.
Other advanced topics include:
- Mipmapping: Generating lower-resolution versions of textures to improve rendering quality and performance for distant objects.
- Multisampling: Anti-aliasing technique that samples fragments multiple times to reduce aliasing artifacts.
- Bind Groups: Efficiently managing resource bindings for shaders, allowing the GPU to switch between different sets of textures and buffers quickly.
- Asynchronous Operations: Leveraging WebGPU's asynchronous nature for smoother performance, especially during resource loading and transfers.
Mastering these concepts will allow developers to build sophisticated graphics and computation applications for the web, pushing the boundaries of what's possible in a browser environment.
Conclusion
WebGPU provides a powerful and modern API for GPU acceleration on the web. Its explicit control over hardware, support for modern GPU features, and efficient WGSL shading language make it an ideal choice for demanding graphics and compute tasks. By understanding the core concepts of device management, buffer and texture handling, and shader pipeline construction, developers can unlock new levels of performance and capability for their web applications. This tutorial has provided a foundational understanding, paving the way for more complex implementations.