Why Console Clicking Fails
Your initial cloud resources likely came from clicking through a web console. AWS, Azure, GCP – they all offer graphical interfaces that feel productive at first. You click, configure a server, and it works. But this approach quickly hits a wall. Need an identical staging environment? Good luck remembering the 14 specific settings you chose for production. A teammate asks about network configuration, and the only honest answer is to manually investigate. When something breaks, nobody knows what changed because manual clicks leave no audit trail. Clicking doesn't scale, doesn't repeat reliably, and doesn't remember. It’s a dead end for serious infrastructure management.
The solution is Infrastructure as Code (IaC). Instead of clicking, you describe your infrastructure in text files. These files are version-controlled, typically in Git, and a tool like Terraform reads them to build precisely what you’ve defined. This article guides you through Terraform's core concepts and workflow, enabling you to write and run your own infrastructure code.
What is Infrastructure as Code?
Infrastructure as Code (IaC) treats your infrastructure—servers, databases, networks, load balancers, and more—like software. You define it using code, which brings all the benefits of software development to infrastructure management: version control, automated testing, collaboration, and repeatability. IaC eliminates manual processes, reduces the risk of human error, and ensures consistency across environments. This is crucial for modern cloud-native development, enabling faster deployments, easier disaster recovery, and more efficient scaling.
Introducing Terraform
Terraform, developed by HashiCorp, is the leading open-source IaC tool. It supports a vast array of cloud providers and services, making it a versatile choice for managing multi-cloud or hybrid-cloud environments. Terraform uses a declarative configuration language called HashiCorp Configuration Language (HCL), which is designed to be human-readable and easy to learn. You declare the desired end state of your infrastructure, and Terraform figures out how to achieve it.
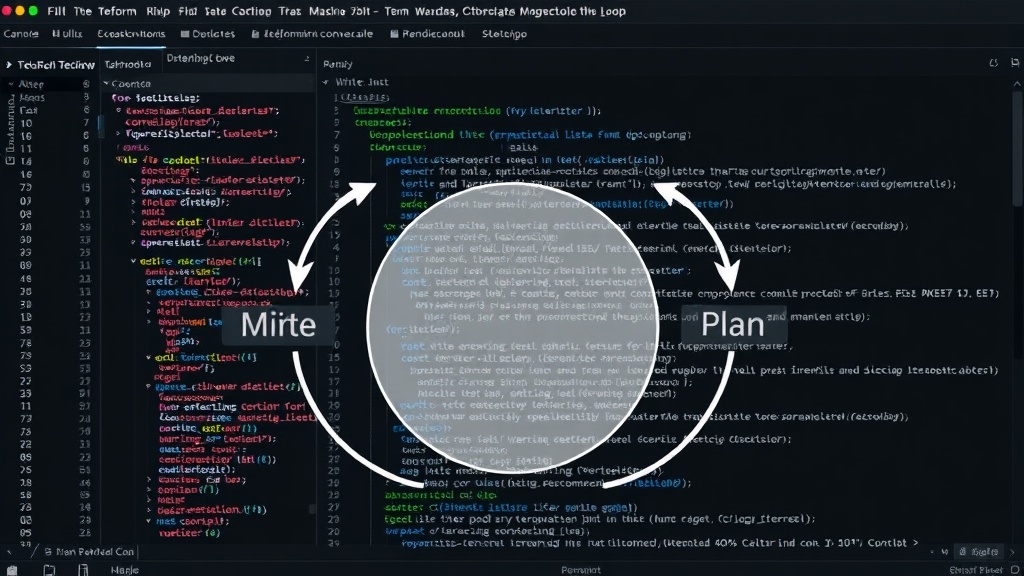
The core loop of using Terraform involves:
- Writing Configuration: Define your infrastructure resources in `.tf` files using HCL.
- Initializing: Run `terraform init` to download necessary provider plugins and set up the backend.
- Planning: Run `terraform plan` to see what changes Terraform will make to your infrastructure based on your configuration. This is a crucial dry-run step.
- Applying: Run `terraform apply` to execute the plan and create, update, or destroy infrastructure resources.
Terraform maintains a state file (`terraform.tfstate`) that tracks the actual state of your managed infrastructure. This state file is critical for Terraform to know what it controls and how to make future changes.
Key Terraform Concepts
Providers
Terraform uses providers to interact with cloud platforms and other services. A provider is an API client that understands how to provision and manage resources for a specific service. For example, the AWS provider knows how to create EC2 instances, S3 buckets, and VPCs. You declare the providers you need in your configuration and specify versions to ensure consistency.
Resources
Resources are the fundamental building blocks of your infrastructure. A resource block in Terraform defines a single piece of infrastructure, such as a virtual machine, a database, or a network interface. Each resource block has a type (e.g., `aws_instance`) and a local name, followed by arguments that configure the resource's properties.
resource "aws_instance" "example" {
  ami           = "ami-0c55b159cbfafe1f0"
  instance_type = "t2.micro"

  tags = {
    Name = "HelloWorld"
  }
}
Variables
Variables allow you to parameterize your Terraform configurations, making them more flexible and reusable. You can define input variables to accept values from outside the configuration, such as environment names, instance sizes, or region settings. This is essential for creating dynamic infrastructure that can adapt to different deployment scenarios.
Outputs
Output values allow you to expose certain attributes of your infrastructure after it has been provisioned. This could be the public IP address of a server, the endpoint of a database, or the ARN of a resource. Outputs are useful for sharing information about your infrastructure with other Terraform configurations or for displaying important details to users after an apply.
The State File: Terraform's Memory
Terraform's state file (`terraform.tfstate`) is central to its operation. It acts as a map between your configuration and the real-world resources it manages. When you run `terraform plan` or `terraform apply`, Terraform reads this file to determine the current state of your infrastructure. It then compares this to your desired state defined in your configuration files to compute the necessary changes.
Managing the state file is critical for team collaboration. For production environments, you should never store the state file locally. Instead, use remote state backends (e.g., AWS S3, Azure Blob Storage, Terraform Cloud) which provide locking mechanisms to prevent concurrent modifications and ensure data integrity. Think of the state file less like a simple text file and more like the central nervous system of your infrastructure; losing it or corrupting it can be catastrophic.
Getting Started: Your First Terraform Run
To begin, you'll need to install Terraform and choose a cloud provider. For this example, let's assume you're using AWS and have your AWS credentials configured.
- Create a project directory.
- Create a file named `main.tf` and add the following content to define an AWS provider and a simple EC2 instance:
# Configure the AWS Provider
provider "aws" {
  region = "us-east-1"
}

# Define a sample EC2 instance
resource "aws_instance" "example" {
  ami           = "ami-0c55b159cbfafe1f0" # Example AMI for Amazon Linux 2 in us-east-1
  instance_type = "t2.micro"

  tags = {
    Name = "MyTerraformInstance"
  }
}

# Define an output for the instance ID
output "instance_id" {
  description = "The ID of the EC2 instance."
  value       = aws_instance.example.id
}
Note: Ensure you use an AMI ID valid for your chosen region. You can find current AMIs in the AWS EC2 console or via the AWS CLI.
Now, navigate to your project directory in your terminal and run the following commands:
- Initialize Terraform:
terraform init
This command downloads the AWS provider plugin. - Create a plan:
terraform plan
This shows you what Terraform will do. You should see that it plans to create one EC2 instance. - Apply the configuration:
terraform apply
Type `yes` when prompted to confirm. Terraform will create the EC2 instance.
After the apply completes, Terraform will output the `instance_id`. You can verify the instance creation in the AWS EC2 console. To clean up, run terraform destroy and confirm with `yes`.
The Bigger Picture: Beyond Simple Resources
Terraform's power extends far beyond single resources. You can define complex networks, manage Kubernetes clusters, provision databases, and orchestrate deployments across multiple cloud providers. Modules allow you to package and reuse Terraform configurations, promoting best practices and reducing duplication. Workspaces enable you to manage multiple distinct states for the same configuration, useful for managing different environments (dev, staging, prod) or different customers with the same base infrastructure template.
For teams, adopting Terraform means establishing a clear workflow around Git. Pull requests for infrastructure changes provide a review process, catching potential errors before they impact production. Automated pipelines can then trigger `terraform plan` and `terraform apply` for approved changes. This disciplined approach is what truly unlocks the promise of Infrastructure as Code.