
Moving Beyond Data Fetching: Form Mutations in SvelteKit
In the previous installments of this SvelteKit series, we delved deep into fetching data. We covered basic queries, batching requests, and even real-time data retrieval. Now, it's time to shift gears. If fetching data is 'pulling,' then sending data to the server is 'pushing.' This article focuses on how SvelteKit enables you to send data back to your server, specifically using the `FormData` API for actions like creating or updating resources.
This capability is crucial for any interactive web application. Users expect to be able to submit forms, update their profiles, post comments, or make purchases. SvelteKit provides a structured way to handle these 'mutations,' abstracting away much of the boilerplate typically associated with form submissions in traditional web development. We'll start by understanding how to manage input fields and will later explore validation, displaying form values, and handling server responses, including redirects.
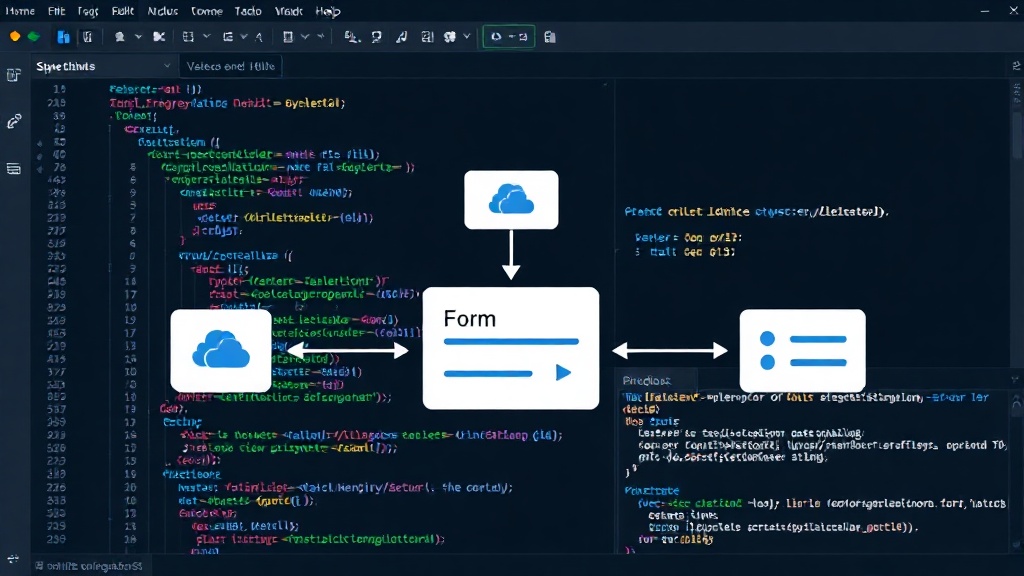
Understanding Form Data and Mutations
The core concept here is handling data mutations. When a user interacts with a form—entering details, selecting options, and hitting submit—that data needs to be sent to your backend. This could be for creating a new user account, posting a new blog entry, or updating an existing product listing. SvelteKit's approach to forms is designed to streamline this process. It leverages the browser's native `FormData` object, which is ideal for sending data that might include files or simply structured key-value pairs.
The `FormData` object is essentially a way to construct a set of key/value pairs representing form fields and their values. When you submit a form using standard HTML, the browser automatically creates a `FormData` object behind the scenes. SvelteKit provides hooks and patterns to intercept this process, allowing you to manipulate the data before it's sent, validate it, and handle the server's response gracefully. This is a significant improvement over manually constructing JSON payloads or dealing with multipart form data in plain JavaScript.
Managing Form Fields
The first step in handling any form is managing its fields. In Svelte, this is typically done using reactive variables. You'll often have input elements bound to these variables using Svelte's `bind:value` directive. For example:
<script>
  let username = '';
  let email = '';
</script>

<input type="text" bind:value={username} placeholder="Username" />
<input type="email" bind:value={email} placeholder="Email" />
When the user types into these fields, the `username` and `email` variables update automatically. This reactivity is a cornerstone of Svelte and makes managing form input state intuitive. However, for sending data to the server, especially in a structured way that SvelteKit encourages, you often want to package these values together. This is where the concept of a form action comes into play.
Form Actions: The SvelteKit Way
SvelteKit introduces 'form actions' as a first-class feature for handling form submissions. Instead of manually writing `fetch` requests within your component's event handlers, you define an action function. This function lives in a `+page.server.js` or `+page.ts` file associated with the page containing the form. When the form is submitted, SvelteKit automatically invokes this action function, passing it the form data.
A typical form action function might look like this:
// src/routes/my-form/+page.server.js
import { fail } from '@sveltejs/kit';

export const actions = {
  default: async ({ request }) => {
    const formData = await request.formData();
    const username = formData.get('username');
    const email = formData.get('email');

    // Basic validation
    if (!username || typeof username !== 'string') {
      return fail(400, { missing: true, username });
    }
    if (!email || typeof email !== 'string') {
      return fail(400, { missing: true, email });
    }

    // Process the data (e.g., save to database)
    console.log('Received:', { username, email });

    // Return success or specific data for the client
    return {
      success: true,
      message: 'User created successfully!',
      username: username // Optionally return data to populate form/show message
    };
  }
};
In this example, the `default` action is triggered when a form on the `/my-form` page is submitted. The `request` object contains the submitted form data, which can be accessed using `request.formData()`. The `formData.get('fieldName')` method retrieves the value for a specific field. The `fail` helper from `@sveltejs/kit` is used to return an error response, including specific data that can be used client-side to repopulate the form with invalid entries or display error messages.
Handling Different HTTP Methods
While the example above uses the default behavior, which typically maps to a POST request, SvelteKit's form actions can be configured to handle different HTTP methods. You can explicitly define actions for POST, PUT, PATCH, and DELETE requests. This aligns with RESTful principles and provides a robust way to manage data operations.
For instance, if you had a form to update an item, you might define a specific action for PUT or PATCH. The structure remains similar, but the intent is clearer and allows for more fine-grained control over server-side routing and logic.
Client-Side Integration
On the Svelte component side, you simply need to point your form's `action` attribute to the server action. SvelteKit handles the rest, including progressive enhancement. If JavaScript is enabled, the form will submit asynchronously using `fetch`, and the page won't perform a full reload. The result of the action function will be returned to the browser, allowing you to update the UI accordingly. If JavaScript is disabled, the form will submit as a traditional HTML form, causing a full page reload.
The `use:enhance` action from SvelteKit is key here. It allows you to intercept the form submission and handle it client-side, preventing a full page refresh and enabling a smoother user experience. You can also listen for the data returned by the action to update your component's state, display success messages, or show validation errors.
For example, in your Svelte component:
<script>
  import { enhance } from '$app/forms';
  import { page } from '$app/stores';

  export let form;

  $: errors = form?.error || {};
  $: successMessage = form?.message;
</script>

<form method="post" use:enhance>
  <label for="username">Username</label>
  <input
    type="text"
    id="username"
    name="username"
    bind:value={form?.username || ''}
    aria-invalid={errors.username ? 'true' : undefined}
  />
  {#if errors.username}
    <p>{errors.username}</p>
  {/if}

  <label for="email">Email</label>
  <input
    type="email"
    id="email"
    name="email"
    bind:value={form?.email || ''}
    aria-invalid={errors.email ? 'true' : undefined}
  />
  {#if errors.email}
    <p>{errors.email}</p>
  {/if}

  <button type="submit">Submit</button>
</form>

{#if successMessage}
  <p>{successMessage}</p>
{/if}
The `form` prop, exported from `+page.server.js`, contains the data returned by the form action. This allows you to display success messages or repopulate fields with previously entered data if there were validation errors.
What's Next?
This part of the series has laid the groundwork for handling data mutations with SvelteKit forms. We've seen how to manage fields, define server actions, and integrate them with the client-side. Future articles will build on this foundation, covering advanced topics like data validation strategies, handling file uploads, and implementing more complex redirect and response patterns.