Understanding JWT Authentication in Spring Boot
Authentication is a foundational element for any real-world application. While many tutorials offer copy-paste solutions, understanding the underlying mechanics is crucial for robust backend development. This guide details the process of building a JSON Web Token (JWT) authentication system from scratch within a Spring Boot application, focusing on clarity and practical implementation.
Why JWT? The Stateless Advantage
JSON Web Token (JWT) offers a compelling approach to user authentication. Unlike traditional session-based methods that require server-side storage of session data, JWTs are self-contained. This means the server doesn't need to maintain state about who is logged in. Each JWT contains user information and a signature, allowing the server to verify its authenticity without needing to query a database or cache for session details. This stateless nature is ideal for RESTful APIs, enabling easier scalability and improved performance. Applications can handle more concurrent users because the server’s memory isn't burdened by tracking individual sessions.
The Authentication Flow: Step-by-Step
The journey to JWT authentication in Spring Boot involves several key stages. Let's break down the typical flow:
1. User Registration
The process begins with user registration. A new user provides their credentials, typically an email address and a password. This information is the raw input for creating a new account.
2. Secure Password Hashing
Storing passwords in plain text is a critical security vulnerability. To prevent this, passwords must be securely hashed before being stored in the database. BCrypt is a widely adopted and robust hashing algorithm, commonly used in Java applications. Spring Security integrates seamlessly with BCrypt, providing utilities to hash passwords effectively. When a user registers, their submitted password is run through BCrypt, producing a unique hash. This hash is stored in the database, not the original password. During login, the submitted password will be hashed and compared against the stored hash.
3. User Login and Credential Verification
When a user attempts to log in, they provide their email and password. The application retrieves the user's record from the database using their email. The provided password is then hashed using the same BCrypt algorithm. This newly generated hash is compared with the hash stored in the database for that user. If the hashes match, the credentials are valid, and the user is authenticated.
4. JWT Generation
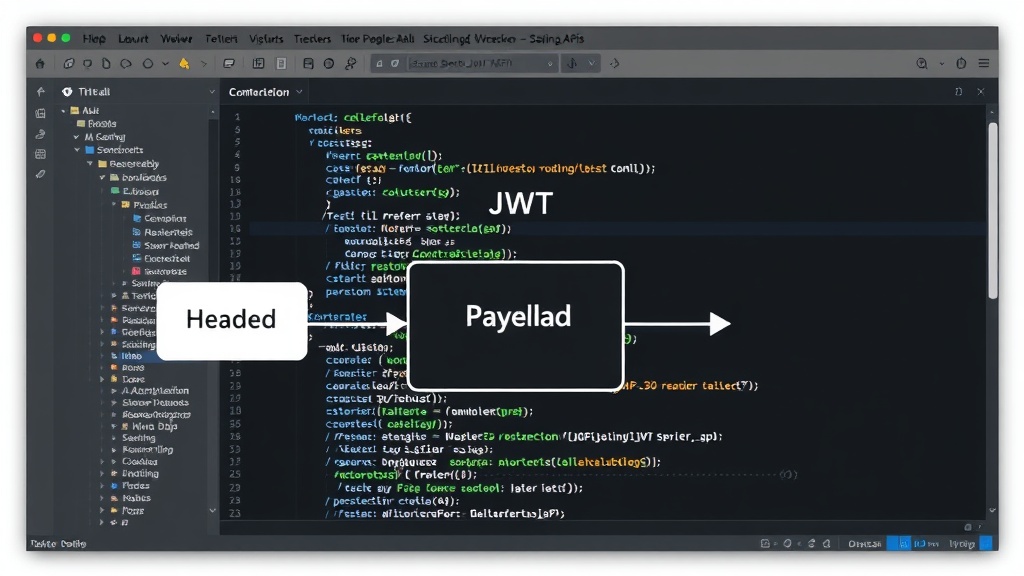
Upon successful authentication, the server generates a JWT. This token is not just a random string; it’s a structured piece of data typically composed of three parts, separated by dots: a header, a payload, and a signature. The header usually contains information about the token type (JWT) and the signing algorithm used (e.g., HS256). The payload contains the claims, which are statements about the user, such as their user ID, roles, and expiration time. Crucially, the payload is encoded, not encrypted, meaning it can be read if intercepted, though tampering is prevented by the signature. The signature is created by taking the encoded header, the encoded payload, a secret key, and the algorithm specified in the header, and then signing them. This signature ensures that the token has not been altered since it was issued.
The secret key used for signing is vital. It must be kept highly confidential on the server-side and should be a strong, randomly generated string. Compromising this secret key would allow an attacker to forge valid JWTs for any user.
5. Sending the JWT to the Client
Once generated, the JWT is sent back to the client, typically in the response body of the login request. The client is then responsible for storing this token securely. Common storage mechanisms include browser local storage, session storage, or HTTP-only cookies. The choice of storage impacts security considerations, particularly against Cross-Site Scripting (XSS) attacks.
6. Client-Side Token Management
For subsequent requests to protected resources, the client must include the JWT. This is usually done by adding an `Authorization` header to the HTTP request, with the value formatted as `Bearer
7. Server-Side Token Validation
When a request arrives with a JWT in the `Authorization` header, the Spring Boot application, often through Spring Security's filter chain, intercepts it. The first step is to extract the token. Then, the token is validated. This validation process involves several checks:
- Signature Verification: The server uses its secret key and the algorithm specified in the token's header to verify that the signature is valid. If the signature doesn't match, the token has been tampered with or issued by an untrusted source.
- Expiration Check: The token's expiration time (exp claim) is checked. If the current time is past the expiration time, the token is considered invalid, and the user must re-authenticate.
- Issuer and Audience Checks (Optional but Recommended): For enhanced security, the token can also be checked against its issuer (`iss` claim) and audience (`aud` claim) to ensure it was intended for this specific application.
If all validation checks pass, the user is considered authenticated for that request. The claims within the token can then be used to identify the user and their permissions. If any check fails, the server rejects the request, typically with an HTTP 401 Unauthorized or 403 Forbidden status code.
Implementation Details in Spring Boot
Building this system involves several Spring Boot components:
- Spring Security: The core framework for handling authentication and authorization. It provides filters, authentication providers, and configuration classes.
- JWT Libraries: Libraries like JJWT (Java JWT) simplify the creation, parsing, and validation of JWTs.
- UserDetailsService and UserDetails: Spring Security interfaces used to load user-specific data (like username, password, and authorities) from the database.
- AuthenticationManager and AuthenticationProvider: Components responsible for the actual credential verification.
- Filters: Custom filters are often implemented to intercept requests, extract JWTs, and perform validation before they reach the controller layer.
The configuration typically involves setting up security rules, defining which endpoints are public and which require authentication, and configuring the JWT generation and validation logic. This often includes defining the expiration duration for tokens and the secret key used for signing.
Conclusion: Stateless Security Achieved
By implementing JWT authentication in Spring Boot, developers can create stateless, scalable, and secure RESTful APIs. The process, while requiring careful attention to security details like password hashing and secret key management, provides a robust mechanism for authenticating users without the overhead of server-side session management. Understanding each step, from registration and hashing to token generation and validation, empowers developers to build more resilient and performant applications.