
Embracing the Modern React Router Pattern
Developers still relying on the older BrowserRouter and Routes pattern in React applications should consider migrating to createBrowserRouter. This modern approach, introduced in React Router v6, lays the groundwork for more scalable applications and unlocks advanced features such as nested layouts, data loaders, data actions, and robust protected routes. It represents a significant architectural shift, moving route configuration from JSX to a JavaScript object, which is crucial for leveraging these powerful new capabilities.
The primary advantage lies in how route definitions are managed. Instead of defining routes directly within JSX, createBrowserRouter utilizes a structured JavaScript object. This separation of concerns makes route management cleaner and more maintainable, especially as applications grow in complexity. It also aligns with React's declarative programming paradigm by treating routes as data that can be manipulated and extended.
Step 1: Install React Router
Before implementing the new routing pattern, ensure you have the latest version of React Router installed. Open your terminal in your project's root directory and run:
npm install react-router-dom
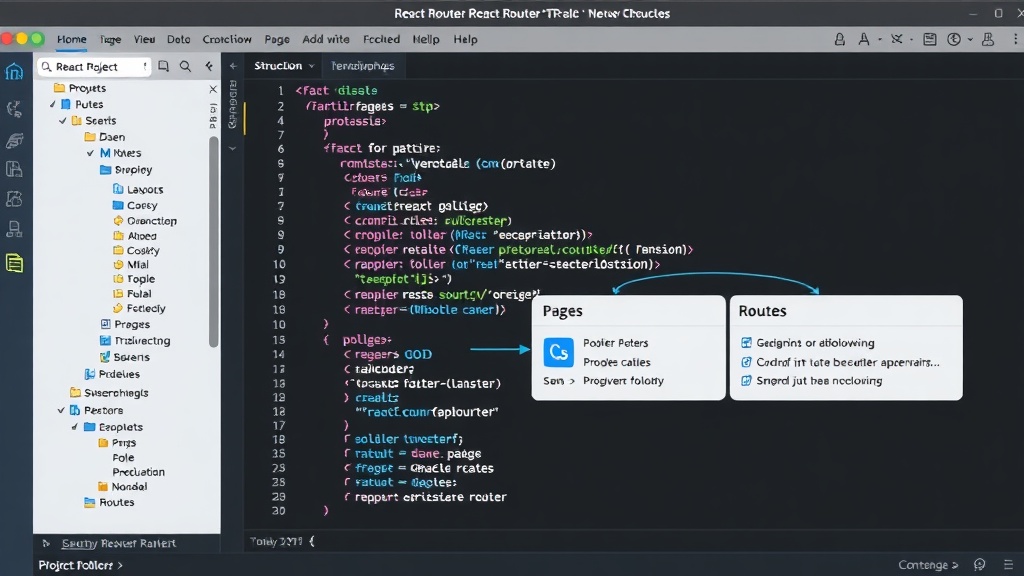
A recommended project structure for managing routes effectively involves dedicating specific folders for different components. This organization is key to maintaining clarity as your application scales:
src/layouts/: For components that define overall page structures (e.g.,MainLayout.jsxwith headers, footers, navigation).pages/: For individual page components (e.g.,Home.jsx,Products.jsx,ProductDetails.jsx,Cart.jsx,NotFound.jsx).routes/: This folder will house the main route configuration file (e.g.,index.jsx).
App.jsx: The main application component.main.jsx: The entry point of your React application.
This structure compartmentalizes routing logic, making it easier to locate, modify, and extend routes as your application evolves. Keeping routes in a dedicated file also simplifies their integration with the router setup.
Step 2: Create Your Router Configuration
The core of the new pattern involves creating a JavaScript object that defines your application's routes. This file, often named index.jsx within the routes/ directory, is where you'll configure the router instance.
Here’s a basic example:
import { createBrowserRouter } from 'react-router-dom';
import MainLayout from '../layouts/MainLayout';
import Home from '../pages/Home';
import Products from '../pages/Products';
import ProductDetails from '../pages/ProductDetails';
import NotFound from '../pages/NotFound';
export const router = createBrowserRouter([
{
path: '/',
element: In this setup:
createBrowserRouteris imported fromreact-router-dom.- The router is configured as an array of route objects.
- The top-level object defines a layout route (
MainLayout) that serves as a parent for nested routes. path: '/'is the root path.element: <MainLayout />specifies the component to render for this route.errorElement: <NotFound />defines a fallback component for errors within this route's scope.childrenarray allows for nested routing. Anindex: trueroute matches the parent path exactly.- Paths like
'products/:productId'demonstrate dynamic segments, essential for pages like product details.
Step 3: Integrate the Router into Your App
The next step is to integrate this router configuration into your application's entry point, typically main.jsx. You will use the RouterProvider component provided by React Router.
Update your main.jsx file as follows:
import React from 'react';
import ReactDOM from 'react-dom/client';
import { RouterProvider } from 'react-router-dom';
import { router } from './routes'; // Import the router configuration
import './index.css'; // Or your global styles

ReactDOM.createRoot(document.getElementById('root')).render(


  ,
);
Here:
RouterProvideris imported.- The
routerobject created in the previous step is imported and passed to therouterprop ofRouterProvider.
This setup replaces the older BrowserRouter and Routes usage in your main application file. The RouterProvider takes over the routing management, enabling all the advanced features that createBrowserRouter supports.
Leveraging Advanced Features
The true power of createBrowserRouter becomes apparent when implementing features like data loading and mutations.
Data Loaders
Loaders are asynchronous functions that run before a route is rendered. They are ideal for fetching data required by a specific route component. This ensures that the UI only renders once the necessary data is available, preventing loading spinners within components and improving perceived performance.
To add a loader, you modify the route object:
// In routes/index.jsx
import { createBrowserRouter } from 'react-router-dom';
import MainLayout from '../layouts/MainLayout';
import Products from '../pages/Products';
import ProductDetails from '../pages/ProductDetails';
// Example loader function
const productDetailsLoader = async ({ params }) => {
const response = await fetch(`/api/products/${params.productId}`);
if (!response.ok) {
throw new Response('Not Found', { status: 404 });
}
return response.json();
};
export const router = createBrowserRouter([
// ... other routes
{
path: 'products/:productId',
element: Inside your ProductDetails.jsx component, you can access this data using the useLoaderData hook:
// In pages/ProductDetails.jsx
import { useLoaderData } from 'react-router-dom';

function ProductDetails() {
  const product = useLoaderData();

  return (

      {product.name}
      {product.description}
      {/* ... other product details */}

  );
}

export default ProductDetails;
Data Actions
Actions are functions that handle data mutations (e.g., form submissions, POST, PUT, DELETE requests). They are triggered by form submissions using the method attribute set to GET, POST, PUT, PATCH, or DELETE. This pattern allows for seamless handling of data changes, including optimistic updates and error management.
An action function would be defined similarly to a loader and attached to a route or directly to a form.
By adopting createBrowserRouter, developers are not just updating their routing mechanism; they are adopting a more robust and feature-rich architecture for their React applications. This shift prepares projects for complex state management, efficient data fetching, and a more streamlined user experience.