Installing OpenLiteSpeed on Ubuntu 22.04
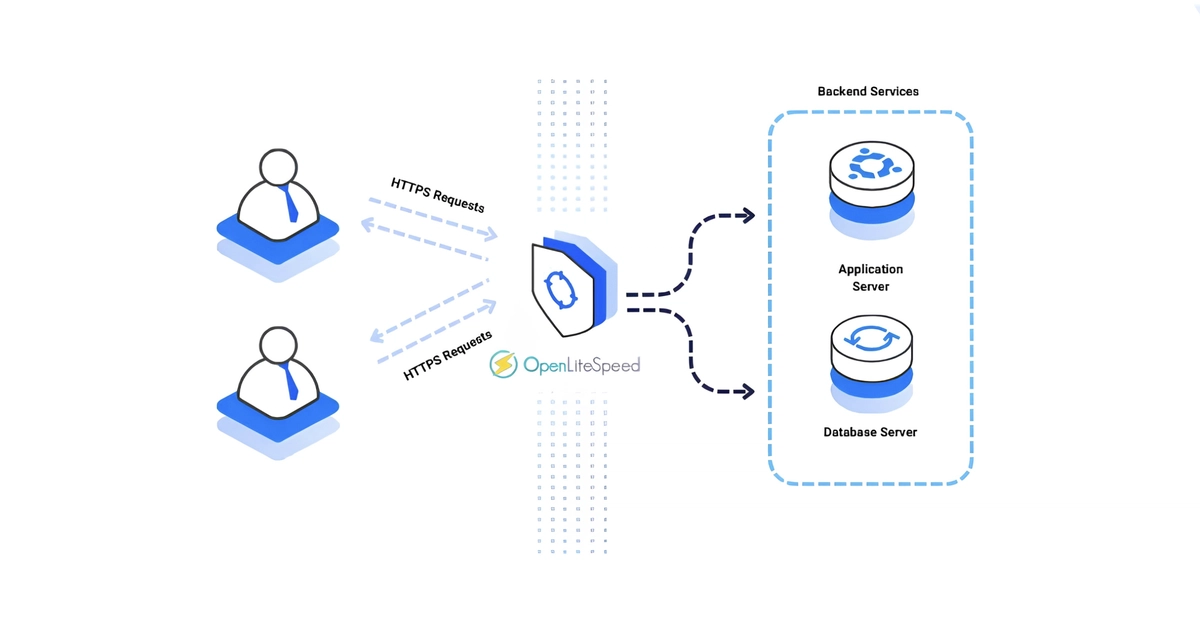
OpenLiteSpeed is a free, open-source, high-performance web server. It supports HTTP/2 and HTTP/3, boasts native PHP handling, and includes a graphical admin console for managing virtual hosts. This guide details its installation on Ubuntu 22.04, the creation of a virtual host with a custom web root, and securing the setup with a real TLS certificate.
Prerequisites: An Ubuntu 22.04 instance, a non-root sudo user, and a domain A record pointing to your server's IP address (e.g., app.example.com).
Install OpenLiteSpeed
OpenLiteSpeed is not available in the default Ubuntu repositories. You must use the official setup script provided by LiteSpeed Technologies. First, download the script using wget:
$ wget -O openlitespeed.sh https://repo.litespeed.sh
Next, execute the script with sudo to install OpenLiteSpeed:
$ sudo bash openlitespeed.sh
The script will guide you through the installation process, prompting for necessary information. It typically involves setting up an admin password for the web console and configuring basic server settings. After the script completes, it's good practice to update your package list and upgrade existing packages, though the script usually handles this:
$ sudo apt update
$ sudo apt upgrade -y
The installation process typically installs OpenLiteSpeed to /usr/local/lsws and its admin console to port 7080.
Configure Virtual Host
After installation, you'll need to configure a virtual host to serve your website. This involves specifying the web root directory and other site-specific settings. You can manage this through the OpenLiteSpeed WebAdmin Console.
Access the WebAdmin Console by navigating to https://your_server_ip:7080 in your web browser. Log in using the admin username and the password you set during the script execution. The console provides an intuitive interface for managing server configurations.
To create a new virtual host:
- Navigate to Virtualization > Virtual Host.
- Click Add.
- Enter a Virtual Host Name (e.g.,
myvhost). - Set the Virtual Root to your desired web root directory (e.g.,
/var/www/myvhost/public_html). Ensure this directory exists and has the correct permissions for the OpenLiteSpeed user (typicallywww-data). - Set the Domain to your registered domain name (e.g.,
app.example.com). - Click Save.
You will also need to configure the listener to use this virtual host. By default, OpenLiteSpeed listens on port 80 for HTTP and 443 for HTTPS. Ensure your virtual host is associated with the correct listener.
Create the web root directory and set appropriate permissions:
$ sudo mkdir -p /var/www/myvhost/public_html
$ sudo chown -R $USER:www-data /var/www/myvhost/public_html
$ sudo chmod -R 755 /var/www/myvhost/public_html
Place an index.html file in this directory to test your virtual host.
Secure with TLS Certificate
Securing your website with a TLS certificate is crucial for encrypting traffic and building user trust. OpenLiteSpeed integrates well with Let's Encrypt for free SSL certificates.
Using Certbot for Let's Encrypt:
- Install Certbot and its OpenLiteSpeed plugin:
$ sudo apt install certbot python3-certbot-litespeed -y
The python3-certbot-litespeed plugin is designed to automatically configure OpenLiteSpeed for SSL. If this plugin is not readily available or if you prefer manual configuration, you can obtain a certificate using a different Certbot authenticator (like DNS or standalone) and then manually configure it within the OpenLiteSpeed WebAdmin Console.
Run Certbot to obtain and install the certificate:
$ sudo certbot --litespeed -d app.example.com
Replace app.example.com with your actual domain name. Certbot will attempt to obtain the certificate and automatically update your OpenLiteSpeed configuration to use it. It will also set up automatic renewal for the certificate.
After Certbot completes, restart OpenLiteSpeed to apply the changes:
$ sudo systemctl restart lsws
You should now be able to access your website via https://app.example.com. The browser should indicate a secure connection.
Managing OpenLiteSpeed
OpenLiteSpeed can be managed using standard systemctl commands:
- Start:
sudo systemctl start lsws - Stop:
sudo systemctl stop lsws - Restart:
sudo systemctl restart lsws - Status:
sudo systemctl status lsws - Enable on boot:
sudo systemctl enable lsws - Disable on boot:
sudo systemctl disable lsws
The WebAdmin Console at https://your_server_ip:7080 provides a comprehensive interface for fine-tuning performance, managing virtual hosts, configuring SSL, and monitoring server status.
What nobody has addressed yet is the performance impact of the graphical admin console on resource-constrained servers. While convenient, its continuous operation might consume noticeable CPU and memory, a detail crucial for developers optimizing for bare-metal or low-cost VPS deployments.