The Pain of Manual Homelab Kubernetes Rebuilds
Rebuilding a homelab Kubernetes cluster from scratch is a repetitive, time-consuming task. For many enthusiasts, the process involves numerous manual steps: provisioning virtual machines, configuring high-availability load balancers like HAProxy, initializing the Kubernetes control plane with kubeadm, installing a network plugin such as Calico, managing join tokens, and then joining the remaining control-plane and worker nodes. After experiencing this cycle multiple times, the frustration often leads to a desire for automation.
One such individual, tired of the manual drudgery, developed a script to automate the entire deployment process. This solution transforms a tedious, multi-hour (or even multi-day) ordeal into a single command execution. The goal is to achieve a fully functional, highly available Kubernetes cluster on a single KVM host, comprising multiple VMs that mimic a production-like environment.
Automating Cluster Deployment
The developed script tackles the entire lifecycle of a homelab Kubernetes cluster deployment. It begins by creating six virtual machines on a single KVM host. These VMs are not just basic instances; they are configured to support a robust, highly available Kubernetes control plane. This foundational step is critical for ensuring the cluster’s stability and resilience.
Following VM creation, the script proceeds with the Kubernetes setup. It uses kubeadm, the official Kubernetes bootstrapping tool, to initialize the cluster. A key component of this setup is ensuring high availability for the control plane. This is achieved by configuring multiple control-plane nodes that can take over if one fails. The script also integrates a network plugin, specifically Calico in this instance, which is essential for pod-to-pod communication and network policy enforcement within the cluster.
A significant challenge in manual setups is the management of join tokens and the sequential joining of nodes. The script automates this by generating and distributing the necessary tokens, ensuring that control-plane nodes are added first, followed by the worker nodes. This systematic approach guarantees that all nodes are correctly integrated into the cluster and can communicate effectively.
The end result is a production-grade, highly available Kubernetes cluster deployed with a single command. This automation dramatically reduces the time and effort required to set up or reset a homelab environment, allowing users to focus on deploying and managing applications rather than wrestling with infrastructure setup. The script effectively abstracts away the complexity of manual configuration, making homelab Kubernetes more accessible and manageable.
The Technical Stack and Workflow
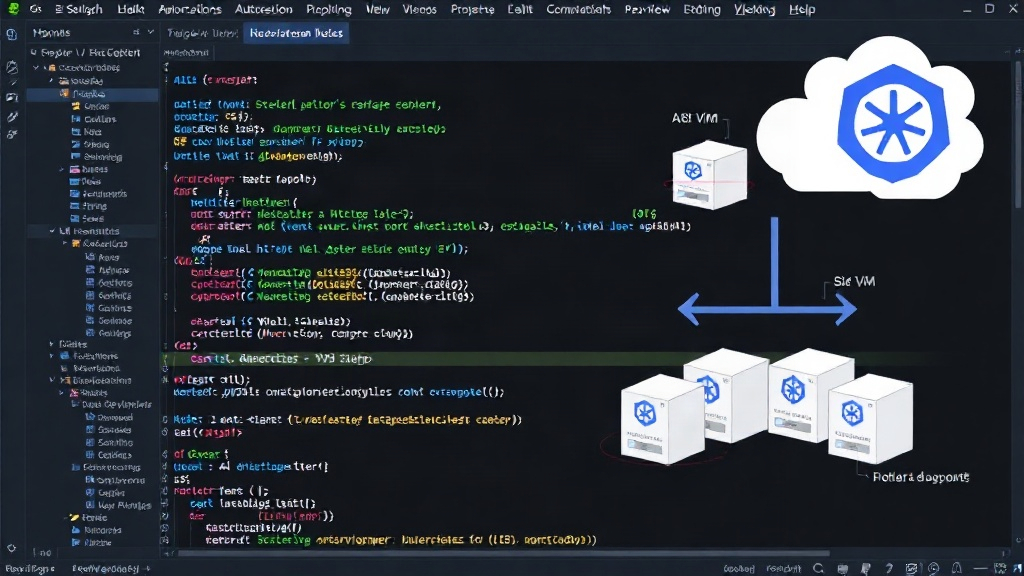
The automation leverages a combination of standard virtualization and Kubernetes tooling. KVM (Kernel-based Virtual Machine) serves as the hypervisor, providing the underlying infrastructure for creating and managing the virtual machines. Each VM is provisioned with the necessary operating system and configured to meet Kubernetes’ requirements.
kubeadm is the core tool for bootstrapping the Kubernetes cluster. It simplifies the process of initializing a control-plane node and joining other nodes to the cluster. The script orchestrates kubeadm commands, ensuring that the control plane is set up for high availability from the outset. This typically involves setting up an external load balancer or using stacked etcd members with an internal load balancer configuration, though the specifics depend on the script's implementation details.
For networking, Calico is chosen as the Container Network Interface (CNI) plugin. Calico is known for its performance and robust network policy enforcement capabilities, making it a popular choice for both homelab and production environments. The script ensures that Calico is correctly installed and configured across all nodes, enabling seamless pod communication.
The entire workflow is encapsulated within a single script. This script likely uses shell scripting or a similar automation language to chain together the various commands for VM creation, kubeadm initialization, CNI installation, and node joining. The output of one command often feeds into the input of the next, creating a smooth, unbroken deployment pipeline. This approach is akin to infrastructure-as-code, where the cluster’s desired state is defined in a script and executed automatically.
Benefits and Future Considerations
The primary benefit of this automated approach is the drastic reduction in deployment time and the elimination of manual errors. Instead of spending hours on setup, users can have a functional cluster ready in minutes. This frees up valuable time for experimentation, learning, and running actual workloads. It also provides a consistent and reproducible environment, crucial for any homelab where configurations might need to be reset or replicated.
This automation also lowers the barrier to entry for complex setups like HA Kubernetes. What might have seemed daunting to configure manually becomes accessible through a simple command. This empowers users to explore more advanced Kubernetes features and architectures without getting bogged down in initial setup complexities.
Looking ahead, such scripts can be further enhanced. They could incorporate automated application deployments via GitOps tools, integrate with monitoring and logging solutions, or even support multi-node KVM hosts for even greater resilience. The potential for extending this automation is vast, turning a homelab into a more sophisticated and manageable platform.
What remains unaddressed by this particular script, however, is the lifecycle management of the deployed cluster itself. While it automates the initial build, updates, upgrades, or disaster recovery scenarios still require separate considerations. Nonetheless, having a reliable and fast deployment mechanism is a significant step forward.