Environment Variables and Secrets: The Right Way
Newcomers to Docker often face a common pitfall: hardcoding sensitive information like database passwords directly into their Dockerfiles. This approach is fundamentally insecure. When a Dockerfile is built, each instruction creates a layer. If a password or API key is written directly into a layer using an `ENV` or `ARG` instruction, it becomes permanently embedded in the image. Anyone with access to the image can inspect these layers and retrieve the secret.
Consider this insecure practice:
# DON'T DO THIS
FROM ubuntu:latest
ENV DB_PASSWORD=mysecretpassword
# ... rest of your Dockerfile
This simple `ENV` instruction makes your password visible in the image history. A determined attacker could pull your image, inspect its layers, and expose your credentials. This is a critical security vulnerability, especially when deploying to production environments.
The proper method involves using Docker secrets or environment variables passed at runtime. Docker Swarm and Kubernetes have built-in secret management systems. For simpler, single-host setups, you can pass environment variables using the -e flag with docker run or define them in a docker-compose.yml file. For truly sensitive data, Docker secrets offer a more secure, encrypted mechanism managed by the Docker daemon.
Multi-Stage Builds: Shrink Your Images, Speed Up Your Builds
One of the most common complaints from developers is slow build times and excessively large container images. A four-minute build for a single-line code change is not just frustrating; it kills developer productivity. The culprit is often the monolithic Dockerfile, where build tools, development dependencies, and source code all end up in the final image.
Multi-stage builds are the solution. This technique uses multiple FROM statements in a single Dockerfile. Each FROM instruction begins a new build stage. You can then copy artifacts (like compiled binaries or static assets) from one stage to another, discarding everything else. This means your final image only contains the essential runtime components, dramatically reducing its size and build time.
Here's a simplified example:
# Stage 1: Build stage
FROM golang:1.21 AS builder
WORKDIR /app
COPY . .
RUN go build -o myapp

# Stage 2: Runtime stage
FROM alpine:latest
WORKDIR /app
COPY --from=builder /app/myapp .
CMD ["./myapp"]
In this example, the first stage uses a Go image to compile the application. The second stage starts from a minimal Alpine Linux image and only copies the compiled binary from the first stage. The Go SDK and source code are completely excluded from the final image. This results in a much smaller, more secure, and faster-deploying container.
Live Reload: Faster Iteration Cycles
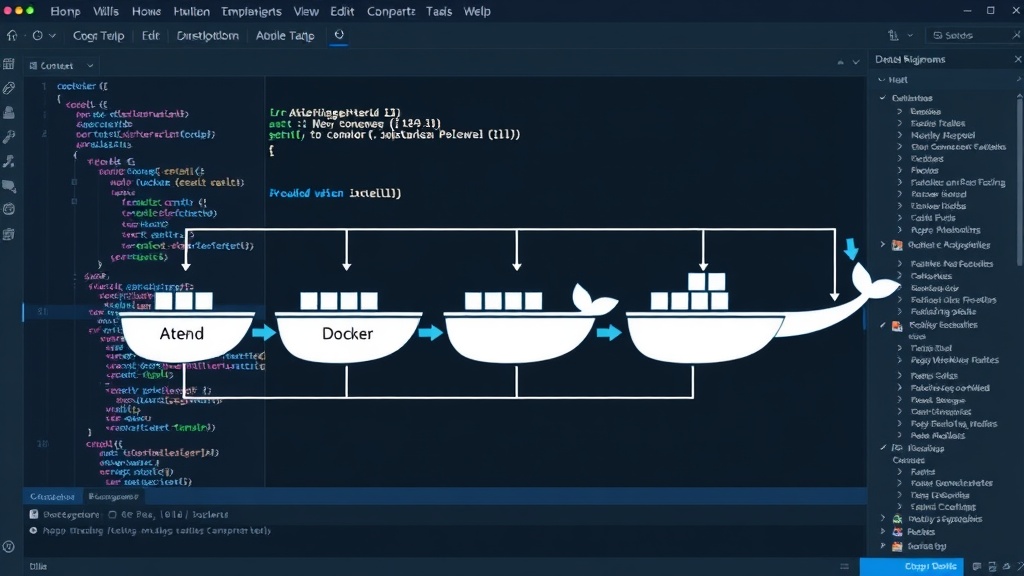
The feedback loop between writing code and seeing its effect can be painfully slow with traditional container workflows. Rebuilding the image and restarting the container for every minor change is a productivity killer. Live reload tools address this by automatically detecting code changes and updating the application within the running container without a full rebuild.
For compiled languages like Go or Node.js, tools like air (for Go) or nodemon (for Node.js) can watch your source files. When a change is detected, they trigger a recompile and restart the application process inside the container. For front-end development, tools like Webpack Dev Server or Vite offer similar hot module replacement (HMR) capabilities, updating the UI in real-time without a page refresh.
Integrating these into your Docker workflow typically involves mounting your source code into the container using volumes and running the live reload tool as your container's entry point or command. This drastically speeds up the development iteration cycle, making it feel much closer to a local development experience.
Debugging Dying Containers: The Root Causes
A container that dies the instant it starts is a common and infuriating problem. The exit code often gives a clue, but the container is gone before you can inspect it. The fundamental reason is usually that the application process inside the container exited prematurely. Containers are designed to run a single process as their main command (PID 1). If that process exits, the container stops.
Several factors can cause this:
- Configuration Errors: The application fails to start because it can't find a required configuration file, a necessary environment variable is missing, or a port it needs is already in use.
- Missing Dependencies: The application requires a library or binary that isn't present in the container image.
- Application Crashes: An unhandled exception or bug in the application code causes it to crash immediately upon startup.
- Incorrect Entrypoint/CMD: The command specified in the Dockerfile's
ENTRYPOINTorCMDis invalid, points to a non-existent file, or has incorrect arguments. - Resource Limits: In constrained environments (like Kubernetes or Docker Desktop with limited resources), the container might be killed by the orchestrator if it exceeds memory or CPU limits upon startup.
To debug this, you need to capture the application's output. The easiest way is to run the container interactively, allowing you to see the logs directly:
docker run -it --entrypoint /bin/bash your_image_name
Once inside the container, you can manually execute the original entrypoint command or try to start the application to see the error messages. Alternatively, you can temporarily override the ENTRYPOINT or CMD to launch a shell instead, inspect the filesystem, and manually run the application executable to capture its output.
Another trick is to use a small utility like tini, which acts as a minimalist init system for containers. tini correctly handles signals and zombie processes, often resolving issues related to PID 1 handling that can cause containers to exit unexpectedly.
Conclusion: Shipping with Confidence
Mastering these Docker features moves you from basic containerization to building robust, secure, and efficient applications. Properly handling secrets prevents critical security breaches. Multi-stage builds and live reload accelerate development cycles and reduce deployment overhead. Understanding how to debug dying containers ensures you can resolve issues quickly when they arise. These are the techniques that separate a developer who merely uses Docker from one who ships production-ready software with confidence.