
Automating Flutter Android Releases to Google Play using GitHub Actions
Manually publishing a Flutter app to Google Play is a tedious, error-prone process. Each release involves downloading an .aab file, navigating the Play Console, uploading the build, verifying version codes, and manually creating release tracks. This workflow is not only slow but also increases the risk of uploading incorrect builds. Automating this process with GitHub Actions streamlines the entire release pipeline, ensuring consistency and reliability.
The Release Flow Explained
A robust release strategy involves multiple stages, from development to production. The proposed flow leverages GitHub Actions to automate builds and deployments, integrating seamlessly with Google Play's testing tracks before a full production rollout.
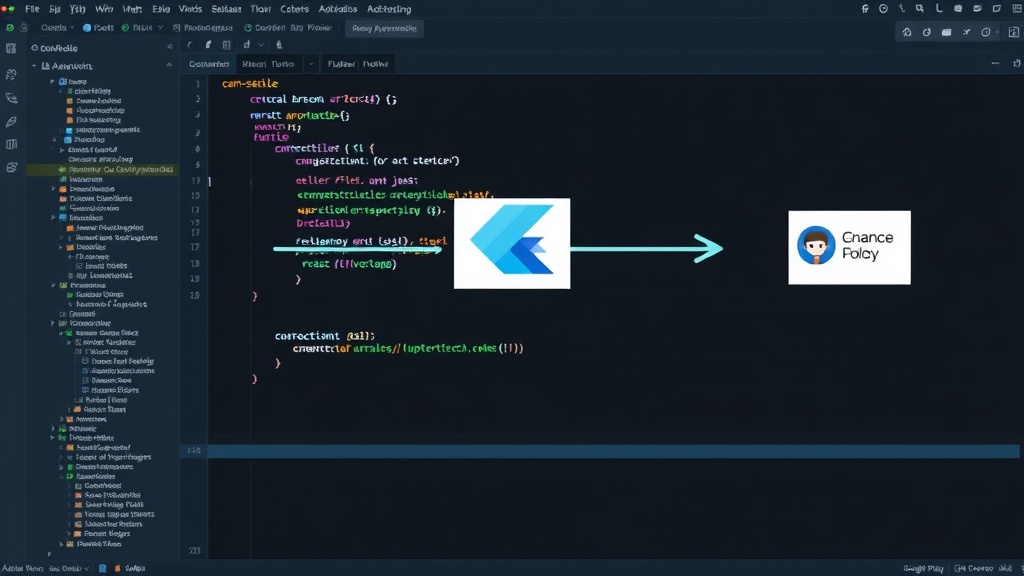
The typical flow begins with feature development on separate branches. Once features are complete, they are merged into the develop branch. A Continuous Integration (CI) pipeline, powered by GitHub Actions, then builds the application. This CI build can be used for internal testing. Following successful internal testing, the code is merged into the main branch. A new CI build is triggered, and this version is then deployed to Google Play's Internal Testing track for a wider, yet controlled, group of testers. Upon successful validation in the internal track, a Git tag is created (e.g., v1.0.0). This tagged commit triggers another GitHub Actions workflow, which builds the final production release and automatically publishes it to the Google Play Production track. Finally, a GitHub Release is generated, documenting the release notes.
Part 1: Google Play Console Setup
Before automating releases, the Google Play Console must be configured to accept automated uploads and manage service accounts. This involves creating a service account with the necessary permissions to manage app releases.
Creating a Service Account
Navigate to the Google Cloud Console and create a new service account. This account will be used by GitHub Actions to authenticate with Google Play. Ensure this service account is granted the 'Release Manager' role within the Google Play Console for the specific application. This role provides the necessary permissions to upload app bundles and manage releases across different tracks (internal, alpha, beta, production).
Generating a JSON Key
Once the service account is created, generate a JSON key file. This file contains the credentials that GitHub Actions will use. It is crucial to keep this JSON key file secure. It should never be committed directly into your code repository. Instead, it should be stored as a secret within your GitHub repository's settings. This ensures that only authorized workflows can access the credentials.
Configuring Play Console Track Settings
Within the Google Play Console, define your release tracks. For an automated workflow, it's common to use the 'Internal Testing' track for initial deployments and validation. Configure this track with a small group of testers. You can also set up 'Alpha' and 'Beta' tracks for staged rollouts before releasing to production. The automation will target these tracks based on the workflow configuration.
Part 2: GitHub Actions Workflow Setup
The core of the automation lies in GitHub Actions workflows. These YAML files define the steps executed on GitHub's runners whenever a specific event occurs (e.g., a push to a branch, a tag creation).
Workflow Trigger
The workflow can be triggered by various events. A common setup is to trigger a build and deployment to the internal track when changes are merged into the develop branch. The production release workflow is typically triggered by the creation of a Git tag on the main branch.
Environment Variables and Secrets
Your GitHub repository secrets should store the JSON key file for your Google Play service account. Additionally, you'll need your Google Play package name. These sensitive details are accessed within the workflow using the secrets context.
Build Steps
The workflow will perform several key build steps:
- Checkout Code: Fetch the repository code onto the GitHub runner.
- Setup Flutter: Set up the Flutter SDK environment on the runner. This ensures the correct Dart and Flutter versions are available for building.
- Flutter Build: Execute the Flutter command to build the Android App Bundle (
.aab). For example:flutter build appbundle --release --flavor. The specific command might need adjustments based on your project's flavors and build configurations.-t lib/main_ .dart - Sign the App Bundle: Android apps must be signed with a keystore. The workflow needs access to your keystore file (
.jksor.keystore) and its associated passwords, also stored as GitHub secrets. The signing process is typically handled by the Flutter build command itself when configured correctly, or via specific Gradle tasks.
Deployment Steps
Once the signed .aab file is generated, the workflow proceeds to deployment:
- Upload to Google Play: Use a GitHub Action specifically designed for Google Play deployment. A popular choice is the
google-github-actions/release-please-actionor custom scripts leveraging the Google Play Developer API. These actions authenticate using the service account credentials and upload the.aabfile to the specified track (e.g., internal testing). - Create Release: The action or script will then create a new release on the target track, associating the uploaded app bundle with release notes. These release notes can often be automatically populated from your Git commit messages or tagged release notes.
Part 3: Production Release Workflow
The production release workflow is similar but triggered by a Git tag. This ensures that only explicitly tagged versions are promoted to production.
Tagging Strategy
Adopt a consistent versioning strategy, such as Semantic Versioning. When a release is ready for production, create a Git tag on the main branch, for example, git tag v1.0.0, followed by git push origin v1.0.0. This tag acts as the trigger for the production deployment workflow.
Production Deployment Workflow
This workflow will:
- Checkout the tagged commit.
- Set up Flutter.
- Build the signed Android App Bundle for production.
- Upload the
.aabto the Google Play Production track. - Optionally, create a GitHub Release associated with the tag, including release notes.
This automated process significantly reduces the manual effort required for each release, minimizes the chance of human error, and ensures that your app is consistently and reliably deployed to your users.