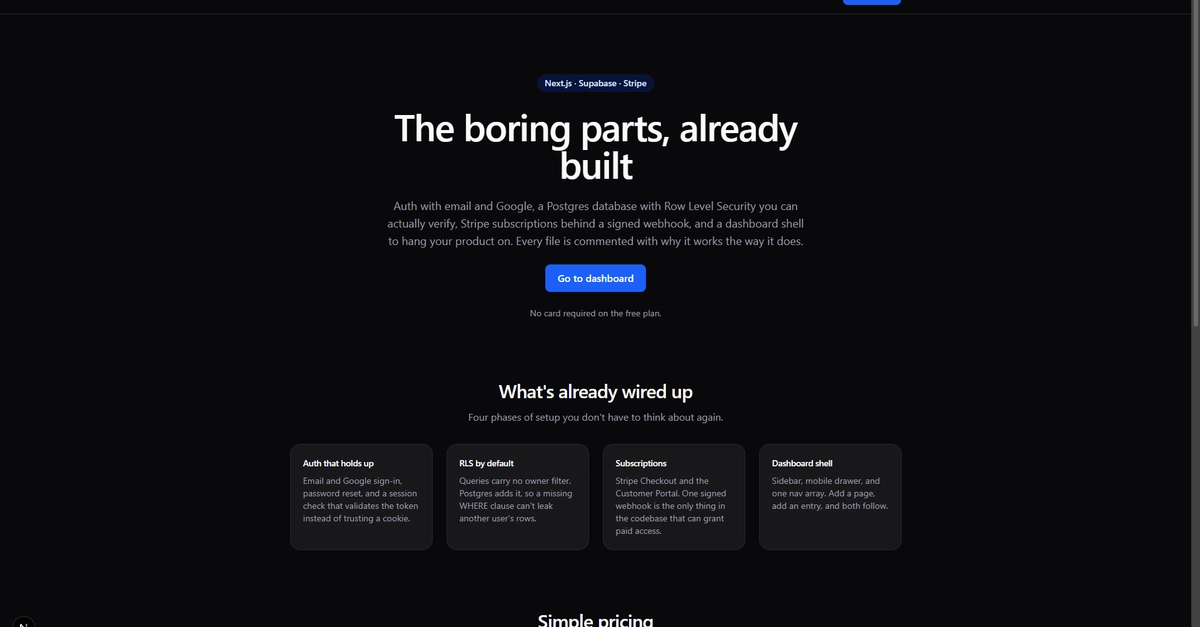
The Critical Need for Robust Data Privacy in SaaS
In multi-tenant applications, the most damaging bugs are not system crashes or UI glitches, but privacy failures. A user accessing another tenant's data represents a fundamental breach of trust and security, with potentially catastrophic consequences for a business. This isn't a hypothetical scenario; it's a daily operational risk that demands proactive, rigorous testing. As developers, we often rely on the perceived correctness of our code, assuming that our application logic will correctly enforce data boundaries. However, this assumption is dangerous. The database itself must be the ultimate arbiter of data access, especially in a world where applications are increasingly complex and interconnected.
When building a SaaS starter kit, particularly one leveraging modern frameworks like Next.js with a robust backend like Supabase and integrating payment processing via Stripe, the database layer's security is paramount. The goal isn't just to build features, but to build them securely from the ground up. This means moving beyond simply writing policies and into the realm of actively *proving* those policies work as intended, before shipping to customers. This article details a practical, hands-on approach to testing Row Level Security (RLS) in Supabase, ensuring that one user cannot inadvertently or maliciously view another user's data.
Leveraging Supabase RLS for Tenant Isolation
Supabase offers a powerful mechanism for enforcing data access controls directly within PostgreSQL through its Row Level Security (RLS) policies. This approach shifts the security boundary from the application layer down to the database itself. Instead of your application code querying all records and then filtering them in memory, RLS policies are executed by PostgreSQL for every query. This means that even if there's a bug in your application code that attempts to fetch data it shouldn't, the database will block it based on the defined RLS policies. This is a significant advantage, as it creates a more resilient security posture.
The core idea behind RLS for multi-tenancy is to associate data records with a specific tenant or user. For an 'owner-scoped' table, meaning data that belongs exclusively to a single user or organization, the policy typically involves checking a `user_id` or `tenant_id` column on the table against the currently authenticated user's identifier. A common pattern for read operations looks something like this:
create policy "projects: owner reads" on projects
  for select
  using (auth.uid() = owner_id);
This policy, when enabled for the `projects` table, ensures that any `SELECT` query executed by an authenticated user will only return rows where the `owner_id` column matches the user's unique identifier (`auth.uid()`). This is the fundamental building block for tenant isolation. However, simply writing this policy is not enough. We need to verify its effectiveness.
The Testing Strategy: Simulating Malicious Access
The most effective way to test RLS is to simulate scenarios where an attacker, or simply a misconfigured user, attempts to access data they should not have access to. This involves creating distinct user accounts and then, using one user's credentials or session, attempting to query data belonging to another user. The goal is to ensure that such attempts are met with empty result sets or explicit denial, not with unauthorized data.
The testing process can be broken down into several key steps:
- Setup Test Users: Create at least two distinct user accounts within your Supabase project. Assign them unique user IDs (obtained via `auth.uid()`).
- Populate Data: For each test user, create a set of data records that are explicitly associated with their user ID. For instance, if you have a `projects` table, create projects where `owner_id` is set to User A's ID, and a separate set of projects where `owner_id` is set to User B's ID.
- Simulate Cross-Tenant Access: This is the core of the testing. You need to execute queries as if you were User A, but attempt to retrieve data that belongs to User B. This can be done in several ways:
- Direct API Calls (Postman/Insomnia): Authenticate as User A using Supabase's JWT authentication. Then, make a `GET` request to your Supabase API endpoint for projects, ensuring the request is configured to target User B's data (e.g., by manipulating parameters if your API layer doesn't directly expose `owner_id` in queries, or by directly querying the Supabase API with the correct `owner_id` in the `using` clause if testing at the DB level).
- Application-Level Testing: If your starter kit includes a frontend or backend API layer, write integration tests or end-to-end tests that log in as User A and attempt to view or manipulate User B's data through the application's UI or API endpoints.
- Database-Level Testing (Advanced): Directly connect to your Supabase database using a SQL client (like `psql` or DBeaver) with User A's credentials (or by setting `role.current_setting('request.jwt.claim.sub', true)` to User A's ID if testing within a function/procedure) and execute `SELECT` statements targeting User B's `owner_id`.
- Verify Results: For every attempted cross-tenant access, the result should be an empty dataset. No rows should be returned. If any data belonging to User B is returned to User A, the RLS policy is flawed or missing.
Beyond SELECT: Testing Other Operations
While ensuring users can't read each other's data is critical, RLS policies must also govern other operations: `INSERT`, `UPDATE`, and `DELETE`. A comprehensive security test suite must cover these as well.
INSERT Policies
When a user creates a new record, it must be automatically associated with their own tenant. A typical `INSERT` policy might look like this:
create policy "projects: owner inserts" on projects
  for insert
  with check (auth.uid() = owner_id);
Testing this involves logging in as User A and attempting to insert a project with `owner_id` set to User B's ID. The operation should fail. Conversely, inserting a project with `owner_id` set to User A's ID should succeed.
UPDATE Policies
Users should only be able to update their own records. An `UPDATE` policy needs to check ownership for the rows being modified:
create policy "projects: owner updates" on projects
  for update
  using (auth.uid() = owner_id)
  with check (auth.uid() = owner_id);
Testing here involves User A attempting to update a project owned by User B, or attempting to change the `owner_id` of their own project to User B's ID. Both scenarios should be blocked. They should, however, be able to update fields on their own projects.
DELETE Policies
Similarly, users should only be able to delete their own data.
create policy "projects: owner deletes" on projects
  for delete
  using (auth.uid() = owner_id);
Test by having User A attempt to delete a project owned by User B. This must fail. User A should be able to delete their own projects.