The Missing Step in SQL Tutorials
Most SQL tutorials start with the assumption that your data is already neatly organized within a database. They jump straight to queries and joins, leaving beginners wondering how to get data into a database in the first place. This guide bridges that gap. We’ll walk you through setting up your own local SQL database from scratch, loading a provided dataset, and running your first queries. The process requires only two desktop tools and bypasses the complexity of server setup.
You won’t need to find your own data. The first step provides a downloadable file, and all the queries in this guide are designed to work with it. This approach removes a significant barrier for those just starting with SQL.
Before diving in, take a moment to consider what a database means to you. For this guide, think of it as a highly organized digital filing cabinet. It's a structured way to store information so you can find and manipulate it efficiently. The goal here is to demystify this foundational step.
Choosing Your SQL Engine
The decision of which SQL database engine to install can seem daunting. For those who need a quick answer, a separate guide explains the key differences and helps you choose. However, for the purpose of this tutorial, we will focus on a common and accessible setup that works well for beginners.
Step 1: Download Your Data File
The first practical step is to acquire the dataset you’ll be working with. This ensures consistency and allows you to follow along precisely. You can download the sample data file from this link. This file is provided in a compressed ZIP format. Once downloaded, extract the contents to a memorable location on your computer. The extracted folder will contain the data file you need to import.
Step 2: Install a Desktop Database Tool
To manage your database, you need a graphical user interface (GUI) tool. For this guide, we recommend DB Browser for SQLite. It’s free, open-source, and straightforward to use for beginners. Visit the official DB Browser for SQLite website and download the installer for your operating system (Windows, macOS, or Linux). Follow the on-screen instructions to complete the installation. This tool will allow you to create, open, and interact with your SQL database file visually.
Step 3: Create Your Database File
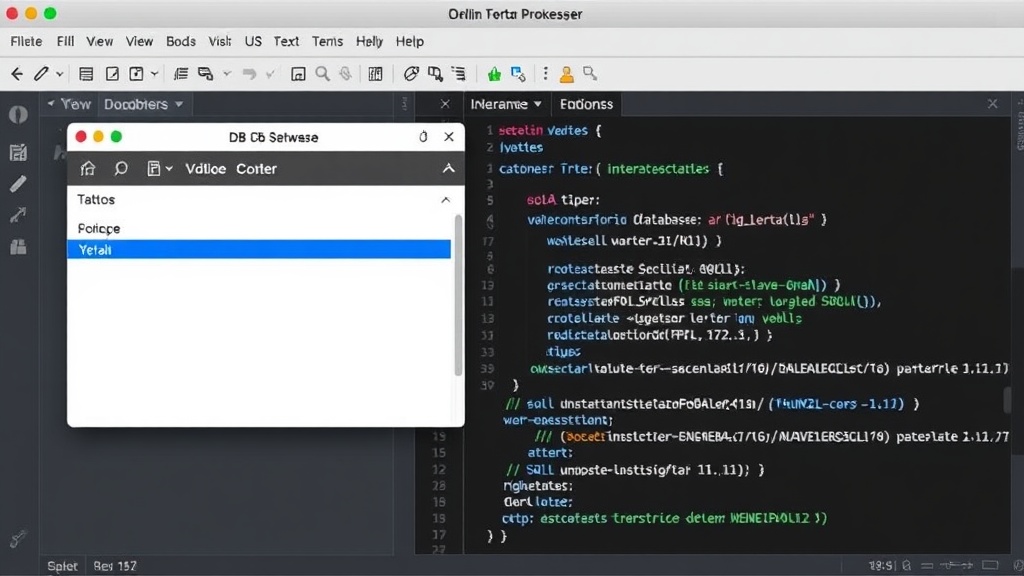
Launch DB Browser for SQLite. When the application opens, you'll see a welcome screen. Click on “New Database.” You will then be prompted to choose a location and name for your database file. It’s good practice to create a dedicated folder for your database projects. Name the file something descriptive, like my_first_database.db. The .db extension is standard for SQLite databases. After naming and saving, the main interface of DB Browser for SQLite will appear, ready for you to define your database structure.
Step 4: Import Your Data
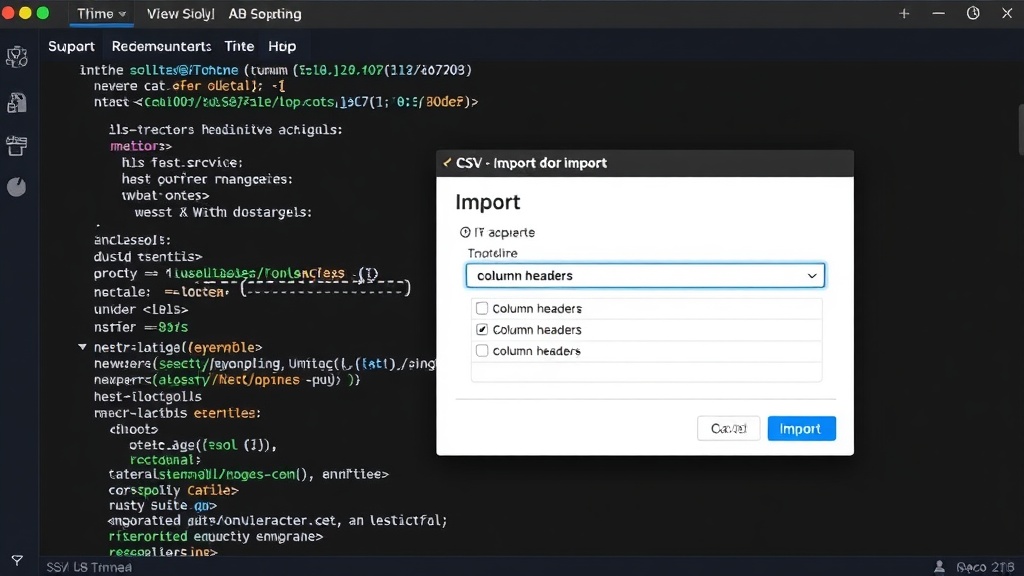
With your database file created, the next step is to import the data from the file you downloaded earlier. In DB Browser for SQLite, navigate to the “File” menu and select “Import.” Choose “Table from CSV file…” (assuming your downloaded data is in CSV format, which is common). A file browser window will open. Locate and select the data file you extracted in Step 1. You will then see an import configuration dialog. Ensure that the “Column names in first line” checkbox is ticked if your CSV file includes headers. Review the data preview to confirm it looks correct, then click “OK.” The tool will process the file and load the data into your new database table. You should see the table name appear in the left-hand pane, and you can view its contents by clicking on it.
Step 5: Run Your First SQL Query
Now that your data is loaded, you can start querying it. In DB Browser for SQLite, click on the “Execute SQL” tab. This opens an editor where you can write and run SQL commands. To see all the data in the table you just imported, type the following command:
SELECT * FROM your_table_name;
Replace your_table_name with the actual name of the table that was created when you imported the CSV file (this name is usually derived from the filename). Click the “Run” button. The results will appear in the pane below the editor. Congratulations, you’ve just run your first SQL query against a database you set up yourself!
Beyond the Basics
This process provides a fundamental understanding of how to get data into a database and interact with it. From here, you can explore more complex SQL commands like WHERE clauses for filtering, ORDER BY for sorting, and JOINs for combining data from multiple tables. The skills you’ve practiced—setting up a local environment, importing data, and executing queries—are transferable to any SQL database system, whether it's PostgreSQL, MySQL, or SQL Server.
The surprising detail here is how accessible this entire process is. Many beginners imagine database administration requires dedicated servers and complex configurations. Instead, with tools like DB Browser for SQLite, you can build a functional data environment on your personal machine in under an hour.
What nobody has addressed yet is how to version control these local database files and their schemas effectively, especially when collaborating on projects. While Git can handle SQL files, managing schema evolution and data snapshots requires more sophisticated strategies that are often overlooked in beginner guides.