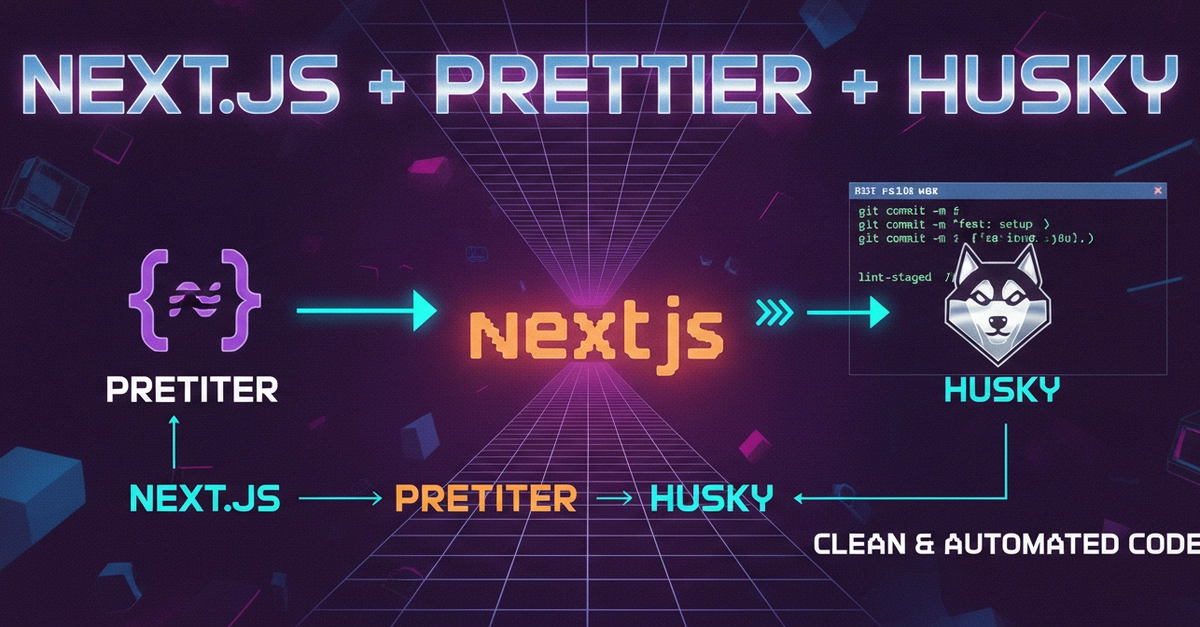
Setting Up Your Next.js Project
Getting started with a Next.js project is straightforward. You can initialize a new application using the create-next-app CLI. This command scaffolds a new Next.js project in your current directory or a specified directory.
npx create-next-app@latest .
This command sets up the fundamental structure for a Next.js application. However, for robust development, consistent code quality, and efficient version control, additional tools are essential. This guide focuses on integrating Prettier for code formatting and Husky for managing Git hooks to automate these quality checks.
Integrating Prettier for Code Formatting
Prettier is an opinionated code formatter that enforces a consistent style across your codebase. Integrating Prettier into your Next.js project ensures all developers adhere to the same formatting rules, reducing cognitive load and preventing style-related merge conflicts. The integration involves installing Prettier and configuring it.
Installation
Install Prettier as a development dependency:
npm install --save-dev prettier
or
yarn add --dev prettier
or
pnpm add -D prettier
Configuration
Create a .prettierrc.json file in the root of your project to define your formatting preferences. Here’s a common configuration:
{
  "semi": true,
  "trailingComma": "all",
  "singleQuote": true,
  "printWidth": 100,
  "tabWidth": 2
}
You can also add Prettier commands to your package.json scripts for easy execution:
{
  "scripts": {
    "format": "prettier --write ."
  }
}
Running npm run format will format all files in your project according to the defined rules.
Implementing Husky for Git Hooks
Husky automates Git hooks, allowing you to run scripts automatically before certain Git actions like committing or pushing. This is crucial for enforcing code quality checks, such as running Prettier and linters, directly within your Git workflow. This prevents unformatted or broken code from entering your repository.
Installation
Install Husky and lint-staged (a utility that runs linters/formatters on staged Git files) as development dependencies:
npm install --save-dev husky lint-staged
or
yarn add --dev husky lint-staged
or
pnpm add -D husky lint-staged
Enabling Husky
After installation, enable Husky by running:
npx husky install
This command creates a .husky directory in your project root and sets up the necessary Git hooks. To ensure Husky is enabled automatically on subsequent installations, add a script to your package.json:
{
  "scripts": {
    "prepare": "husky install"
  }
}
Configuring Git Hooks with lint-staged
lint-staged allows you to specify which files should be processed by which tools. We will configure it to run Prettier on staged JavaScript and TypeScript files before a commit.
Create a .lintstagedrc.json file in your project root:
{
  "*.{js,jsx,ts,tsx}": [
    "prettier --write"
  ]
}
Next, create a commit hook script in the .husky directory. Create a file named commit-msg (or modify an existing one) and add the following content:
#!/bin/sh
.

npx lint-staged
Make this script executable:
chmod +x .husky/commit-msg
Now, whenever you attempt to commit, lint-staged will run Prettier on all staged JavaScript and TypeScript files before the commit message is finalized. This ensures that only well-formatted code is committed.
Adding ESLint for Deeper Linting (Optional but Recommended)
While Prettier handles code formatting, ESLint is essential for catching potential bugs, enforcing coding standards, and improving code quality beyond just style. For Next.js projects, it's highly recommended to use the ESLint configuration provided by Next.js itself.
Installation and Setup
If you didn't set up ESLint during create-next-app, you can install it:
npm install --save-dev eslint @next/eslint-plugin-next
or
yarn add --dev eslint @next/eslint-plugin-next
or
pnpm add -D eslint @next/eslint-plugin-next
Then, create an .eslintrc.json file in your project root. A basic configuration that extends Next.js's recommended rules looks like this:
{
  "extends": "next/core-web-vitals"
}
You can add more rules and configurations to this file as needed. To integrate ESLint with Husky and lint-staged, add it to your .lintstagedrc.json:
{
  "*.{js,jsx,ts,tsx}": [
    "prettier --write",
    "eslint --fix"
  ]
}
Ensure your package.json also has an ESLint script:
{
  "scripts": {
    "lint": "eslint . --ext .js,.jsx,.ts,.tsx"
  }
}
With this setup, both Prettier and ESLint will run on staged files before each commit, ensuring a high standard of code quality. The --fix flag for ESLint attempts to automatically resolve linting issues.
Automating Pre-commit Checks
The combination of Husky and lint-staged creates a powerful pre-commit hook. This hook acts as a gatekeeper, ensuring that code adheres to formatting and linting rules before it even enters your Git history. This process is akin to having a diligent proofreader review every sentence before it’s published, guaranteeing consistency and catching errors early.
When you run git commit:
- Husky triggers the
commit-msghook. commit-msgexecutesnpx lint-staged.lint-stagedidentifies all staged files matching the patterns in.lintstagedrc.json(e.g.,*.{js,jsx,ts,tsx}).- For each matching file, it runs
prettier --writeandeslint --fix. - If these commands modify any files, Git staging area is updated, and you might need to re-add the files and commit again if there were errors that couldn't be auto-fixed.
This workflow significantly reduces the time spent on code reviews for style and basic errors, allowing developers to focus on logic and features. It establishes a baseline of code quality that is maintained across the entire team.
Conclusion: A More Robust Development Workflow
By integrating Prettier and Husky into your Next.js project, you establish a robust development workflow. Prettier ensures code consistency, while Husky, coupled with lint-staged, enforces these standards automatically before commits. This proactive approach minimizes style-related issues, reduces merge conflicts, and ultimately leads to a cleaner, more maintainable codebase. This setup is not just about aesthetics; it's about efficiency and collaboration in modern web development.
Referenced Sources
- verified