Opening the MSI Claw 8 AI+
Upgrading the storage on the MSI Claw 8 AI+ handheld gaming PC is a straightforward process, allowing users to significantly expand their game library. The stock 1TB NVMe SSD can be replaced with a larger 2TB drive, offering more space for AAA titles and indie games alike. This guide walks through the essential steps to perform this upgrade, ensuring a smooth transition to increased storage capacity.
Before beginning, gather your tools. You will need a small Phillips head screwdriver, a plastic pry tool or spudger, an anti-static wrist strap, and of course, the new 2TB NVMe SSD. It is crucial to ensure the new SSD is compatible with the MSI Claw 8 AI+; most M.2 2230 NVMe drives should work, but always check specifications or community feedback for confirmed compatibility. The process involves opening the device, removing the old SSD, installing the new one, and then reinstalling your operating system or cloning your existing drive.
Disassembly and SSD Removal
The first step is to power down the MSI Claw 8 AI+ completely. Do not simply put it to sleep; a full shutdown is essential. Once powered off, disconnect the AC adapter and any peripherals. It is also highly recommended to wear an anti-static wrist strap to prevent electrostatic discharge, which can damage internal components.
Turn the device over to access the back panel. You will see several Phillips head screws securing the panel. Carefully remove all screws. Note that some screws may be of different lengths, so it is wise to keep track of their original positions, perhaps by using a magnetic mat or drawing a diagram. Once all screws are removed, use a plastic pry tool to gently separate the back panel from the main body of the device. Start at one edge and work your way around, applying steady, even pressure to avoid damaging the clips holding the panel in place.
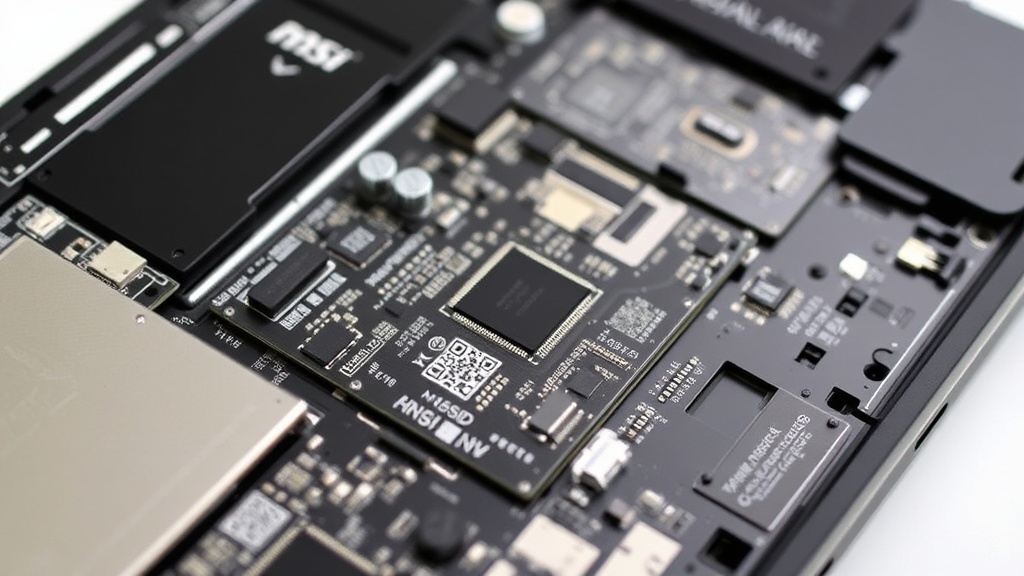
With the back panel removed, you will gain access to the internal components, including the NVMe SSD. The SSD is typically a small, rectangular module secured by a single screw at one end. Carefully remove this screw. Once the screw is out, the SSD should lift up at an angle. Gently pull the SSD out of its M.2 slot. Be careful not to touch the gold contacts on the SSD or within the slot.
Installing the New 2TB SSD
Now, take your new 2TB NVMe SSD. Align the contacts of the new SSD with the M.2 slot. Insert the SSD into the slot at a similar angle it was removed, ensuring it is fully seated. Once the SSD is in place, gently press it down so it lies flat against the motherboard. Secure the SSD with the screw you removed earlier. Ensure the screw is snug but do not overtighten it.
The physical installation is now complete. Carefully reattach the back panel, ensuring all clips engage properly. Then, replace all the screws in their original positions. Double-check that all screws are tightened, but again, avoid excessive force.
Operating System Installation or Cloning
With the new 2TB SSD installed, you have two primary options for getting your operating system and games back onto the device: a clean installation or cloning your existing drive.
Clean Installation: This is often the preferred method for a fresh start. You will need to create a bootable USB drive with Windows 11. You can use Microsoft's Media Creation Tool for this. Boot the MSI Claw 8 AI+ from the USB drive (you may need to access the BIOS/UEFI settings to change the boot order). Follow the on-screen prompts to install Windows 11 onto the new 2TB SSD. After the OS is installed, you will need to reinstall all drivers, utilities, and your game launchers and games.
Cloning: If you wish to preserve your current setup, including installed games and settings, you can clone the old 1TB SSD to the new 2TB SSD. This requires an external NVMe enclosure for your old SSD and cloning software (e.g., Macrium Reflect, Acronis True Image). Install the old SSD into the enclosure and connect it to the MSI Claw 8 AI+ via USB. Then, use the cloning software to copy the contents of the old drive to the new 2TB SSD, which is currently installed in the handheld. Ensure the cloning software is set to expand the partitions to utilize the full 2TB capacity. Once cloning is complete, you can remove the external enclosure and boot from the new internal SSD.
Regardless of the method chosen, after the OS is up and running on the 2TB SSD, you will need to install the latest drivers for the MSI Claw 8 AI+ from MSI's official support website. This ensures optimal performance and compatibility for all hardware components.
Post-Upgrade Considerations
The upgrade process itself is relatively simple, but post-upgrade, you will have a significantly larger storage capacity. This means you can download and install more games, reducing the need to constantly manage storage space. For developers or power users, the increased space can also be beneficial for storing larger datasets, development environments, or virtual machines.
The MSI Claw 8 AI+, with its upgraded 2TB SSD, becomes an even more capable portable gaming and computing device. The ease of this hardware swap underscores the growing trend of user-upgradability in handheld PCs, allowing consumers to extend the lifespan and utility of their devices beyond their initial purchase.