
MVVM in SwiftUI: A Structured Approach
Learning SwiftUI often introduces developers to the Model-View-ViewModel (MVVM) architectural pattern. This pattern promotes a clean separation of concerns, making applications more maintainable, testable, and scalable. This tutorial guides you through building a simple weather application that fetches data from the OpenWeather API, applying MVVM principles, dependency injection, and protocol-oriented programming along the way.
The goal is not just to construct an app, but to deeply understand the rationale behind each architectural layer. By the end, you will be equipped to structure your SwiftUI projects effectively and appreciate the distinct roles each component plays.
Key Learning Objectives
Upon completing this exercise, you will be proficient in:
- Structuring SwiftUI projects using the MVVM pattern.
- Consuming REST APIs efficiently with Swift's async/await capabilities.
- Implementing dependency injection through protocols for enhanced flexibility.
- Gracefully managing and displaying loading and error states.
- Ensuring Views remain solely focused on presenting the User Interface.
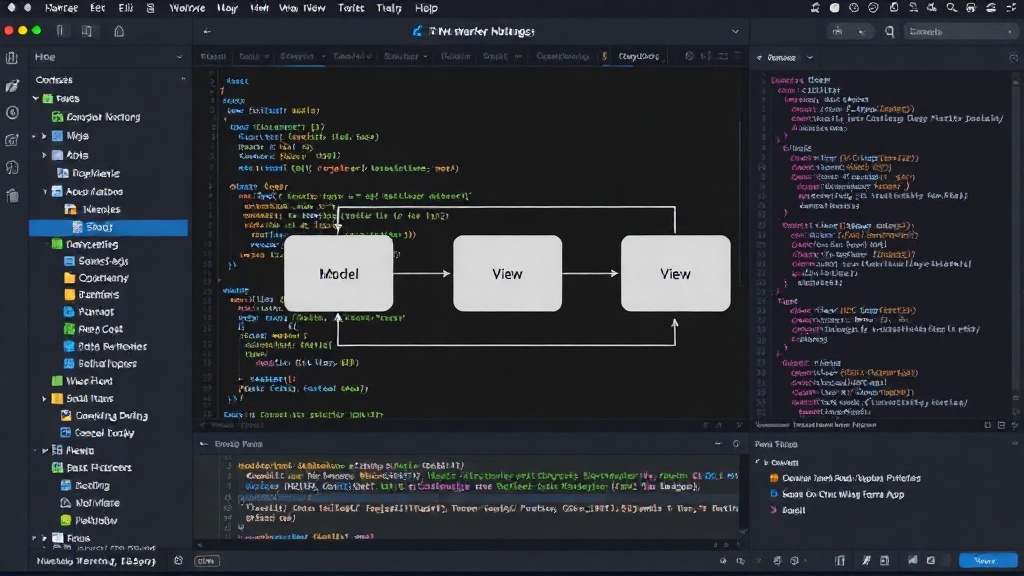
The Data Flow Explained
Understanding the data flow is crucial for grasping MVVM. In this architecture:
- Model: Represents the data and business logic. For our weather app, this includes the data structures that mirror the JSON response from the OpenWeather API.
- View: The User Interface. In SwiftUI, this is composed of declarative UI elements. Views observe changes in the ViewModel and update themselves accordingly. They should not contain business logic or data manipulation.
- ViewModel: Acts as an intermediary between the Model and the View. It exposes data streams (often using `@Published` properties) that the View can subscribe to. It also handles user input by calling methods on the Model or services, and then updates its exposed properties, which in turn updates the View.
The flow typically looks like this: The View observes the ViewModel. User interaction in the View triggers a method call on the ViewModel. The ViewModel fetches or manipulates data from the Model (or a service layer). The ViewModel updates its observable properties. The View, observing these properties, automatically re-renders to reflect the new data or state.
Implementing the Model
First, we define the data structures that will hold the weather information. These typically mirror the JSON response from the API. For instance, you might have structs like `WeatherData`, `MainInfo`, `WeatherDescription`, etc., all conforming to `Codable` to facilitate JSON parsing.
Example structure for `WeatherData`:
struct WeatherData: Codable {
    let main: MainInfo
    let weather: [WeatherDescription]
    let name: String
}

struct MainInfo: Codable {
    let temp: Double
    let feels_like: Double
}

struct WeatherDescription: Codable {
    let main: String
    let description: String
}
Designing the ViewModel
The ViewModel is the core of the MVVM pattern. It will be an `ObservableObject` class in SwiftUI, containing properties that the View will bind to. We'll use the `@Published` property wrapper to ensure that any changes to these properties automatically trigger UI updates.
The ViewModel will be responsible for interacting with a network service to fetch weather data. It will also manage the application's state, such as loading indicators and error messages.
import Foundation

class WeatherViewModel: ObservableObject {
    @Published var city: String = ""
    @Published var temperature: String = "--°C"
    @Published var description: String = ""
    @Published var errorMessage: String? = nil
    @Published var isLoading: Bool = false

    private var weatherService: WeatherServiceProtocol

    init(weatherService: WeatherServiceProtocol) {
        self.weatherService = weatherService
    }

    func fetchWeather(for city: String) async {
        DispatchQueue.main.async {
            self.isLoading = true
            self.errorMessage = nil
        }

        do {
            let weatherData = try await weatherService.getWeather(for: city)
            DispatchQueue.main.async {
                self.city = city
                self.temperature = "°C"(weatherData.main.temp)
                self.description = weatherData.weather.first?.description ?? "N/A"
                self.isLoading = false
            }
        } catch {
            DispatchQueue.main.async {
                self.errorMessage = error.localizedDescription
                self.isLoading = false
            }
        }
    }
}

// Helper extension to format temperature
extension Double {
    func °C(_ decimalPlaces: Int = 0) -> String {
        return String(format: "%.¡f°C", self)
    }
}
Leveraging Protocols and Dependency Injection
To make the ViewModel testable and decouple it from concrete implementations, we use protocols. We define a `WeatherServiceProtocol` that outlines the methods for fetching weather data. This allows us to easily swap out the actual network implementation with a mock version during testing.
The `WeatherServiceProtocol` might look like this:
import Foundation

protocol WeatherServiceProtocol {
    func getWeather(for city: String) async throws -> WeatherData
}
The `WeatherViewModel`'s initializer accepts this protocol, enabling dependency injection. When creating the ViewModel, we provide an instance of a concrete service (e.g., `OpenWeatherService`) that conforms to this protocol.
Building the View
The SwiftUI View will be responsible for displaying the weather information and user controls. It will observe the `WeatherViewModel` and react to changes in its published properties. The View should only contain UI logic and presentation code.
It will use `@StateObject` to instantiate the ViewModel and ensure it persists for the life of the View. It will also include UI elements to display temperature, description, and handle loading/error states.
import SwiftUI

struct WeatherView: View {
    @StateObject private var viewModel: WeatherViewModel
    @State private var cityInput: String = ""

    init(viewModel: WeatherViewModel) {
        _viewModel = StateObject(wrappedValue: viewModel)
    }

    var body: some View {
        NavigationView {
            VStack {
                if viewModel.isLoading {
                    ProgressView("Fetching weather...")
                } else if let errorMessage = viewModel.errorMessage {
                    Text(errorMessage).foregroundColor(.red)
                } else {
                    Text(viewModel.city).font(.largeTitle)
                    Text(viewModel.temperature).font(.title)
                    Text(viewModel.description).font(.headline)
                }

                TextField("Enter city name", text: $cityInput)
                    .textFieldStyle(RoundedBorderTextFieldStyle())
                    .padding()

                Button("Get Weather") {
                    Task {
                        await viewModel.fetchWeather(for: cityInput)
                    }
                }
                .buttonStyle(.borderedProminent)
                .padding(.bottom)
            }
            .navigationTitle("Weather")
        }
    }
}
Putting It All Together: The App Entry Point
In your main App file (e.g., `YourAppNameApp.swift`), you'll set up the dependency injection and instantiate the `WeatherView` with its `WeatherViewModel`.
import SwiftUI

@main
struct WeatherAppApp: App {
    var body: some Scene {
        WindowGroup {
            let weatherService = OpenWeatherService()
            let weatherViewModel = WeatherViewModel(weatherService: weatherService)
            WeatherView(viewModel: weatherViewModel)
        }
    }
}
This setup ensures that the `OpenWeatherService` (a concrete implementation of `WeatherServiceProtocol`) is created and injected into the `WeatherViewModel`, which is then passed to the `WeatherView`. This adheres to the principles of dependency injection and MVVM, creating a well-structured and maintainable application.
Why This Structure Matters
Adopting MVVM with protocols and dependency injection offers significant advantages. It separates UI logic from business logic, making code easier to read, understand, and modify. The use of protocols enhances testability by allowing for mock implementations of services and ViewModels. This methodical approach is fundamental for building robust and scalable applications in SwiftUI.