Setting Up Your ZITADEL Environment
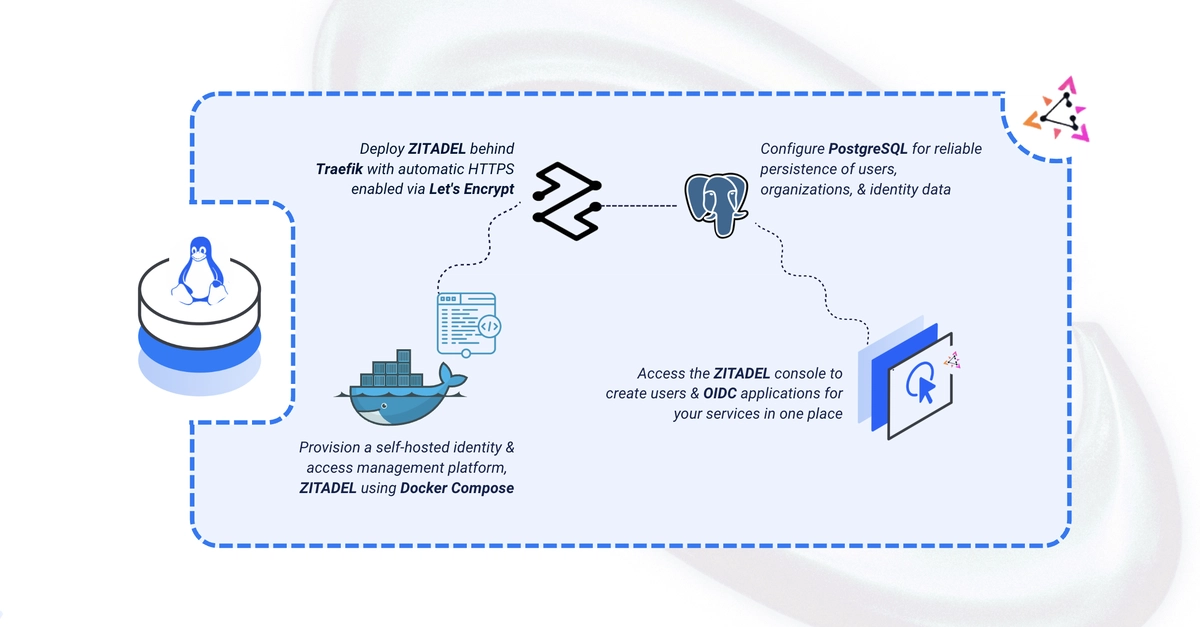
Deploying ZITADEL, a robust open-source Identity and Access Management (IAM) platform, offers fine-grained control over user authentication and authorization for your applications. ZITADEL supports industry standards like OIDC, OAuth 2.0, and SAML, while also integrating modern security features such as Multi-Factor Authentication (MFA), passkeys, and Single Sign-On (SSO). This guide details a practical deployment strategy using Docker Compose, leveraging PostgreSQL for data persistence and Traefik for automated TLS certificate management and reverse proxying.
To begin, ensure you have a Linux server meeting the minimum specifications: 4 vCPUs and 8GB of RAM. You'll also need Docker and Docker Compose installed. A crucial prerequisite is a registered domain name with an A record pointing to your server's IP address (e.g., zitadel.example.com). This domain will be used for accessing your ZITADEL instance and for Traefik to manage TLS certificates via Let's Encrypt.
The first step involves preparing your server's user environment. You need to add your current user to the Docker group to allow Docker commands without sudo. Execute the following commands:
$ sudo usermod -aG docker $USER
$ newgrp docker
Next, create the necessary directory structure for ZITADEL's configuration and data. This includes directories for Let's Encrypt certificates, PostgreSQL data, and ZITADEL's initial bootstrap configuration.
$ mkdir -p ~/zitadel/{letsencrypt,postgres,zitadel-bootstrap}
Configuring ZITADEL with Docker Compose
ZITADEL's deployment is managed through a docker-compose.yml file. This file orchestrates multiple services, including the ZITADEL application itself, a PostgreSQL database, and Traefik as the reverse proxy and TLS manager.
Create a docker-compose.yml file in your ~/zitadel directory with the following content. This configuration defines the ZITADEL service, its dependencies, ports, volumes, and environment variables. Key environment variables include the domain name, the path to the Let's Encrypt certificates, and database connection details.
version: "3.7"

services:
  zitadel:
    image: "ghcr.io/zitadel/zitadel:latest"
    container_name: zitadel
    restart: always
    ports:
      - "8080:8080"
    volumes:
      - "./letsencrypt:/etc/letsencrypt"
      - "./zitadel-bootstrap:/zitadel/bootstrap"
    environment:
      - "ZITADEL_DOMAIN=zitadel.example.com"
      - "ZITADEL_HTTP_PORT=8080"
      - "ZITADEL_PORTS_HTTPS_PORT=443"
      - "ZITADEL_PORTS_HTTP_PORT=80"
      - "ZITADEL_PORTS_PUBLIC_HTTPS_PORT=443"
      - "ZITADEL_PORTS_PUBLIC_HTTP_PORT=80"
      - "ZITADEL_TLS_MODE=mutual"
      - "ZITADEL_SECRETS_CIPHER=AES128GCM"
      - "ZITADEL_SECRETS_ENCRYPTION_KEY=YOUR_ENCRYPTION_KEY"
      - "ZITADEL_SECRETS_SIGNING_KEY=YOUR_SIGNING_KEY"
      - "ZITADEL_DATABASE_USER=zitadel"
      - "ZITADEL_DATABASE_PASSWORD=YOUR_DB_PASSWORD"
      - "ZITADEL_DATABASE_HOST=zitadel-postgres"
      - "ZITADEL_DATABASE_PORT=5432"
      - "ZITADEL_DATABASE_Database=zitadel"
      - "ZITADEL_DATABASE_SSL_MODE=disable"
    depends_on:
      - zitadel-postgres
    labels:
      traefik.enable: "true"
      traefik.http.routers.zitadel.rule: "Host(`zitadel.example.com`)"
      traefik.http.routers.zitadel.entrypoints: "websecure"
      traefik.http.routers.zitadel.tls.certresolver: "myresolver"
      traefik.http.services.zitadel.loadbalancer.server.port: "8080"

  zitadel-postgres:
    image: "postgres:14"
    container_name: zitadel-postgres
    restart: always
    environment:
      - "POSTGRES_USER=zitadel"
      - "POSTGRES_PASSWORD=YOUR_DB_PASSWORD"
      - "POSTGRES_DB=zitadel"
    volumes:
      - "./postgres:/var/lib/postgresql/data"

volumes:
  letsencrypt:
  postgres:
  zitadel-bootstrap:
Important Security Note: Replace YOUR_ENCRYPTION_KEY, YOUR_SIGNING_KEY, and YOUR_DB_PASSWORD with strong, unique secrets. For production, these keys should be generated securely and managed as secrets, not hardcoded. The encryption and signing keys should be at least 32 characters long. You can generate them using tools like openssl rand -base64 32.
Setting Up Traefik for TLS and Routing
Traefik will handle incoming traffic, manage TLS certificates using Let's Encrypt, and route requests to the ZITADEL service. You'll need a separate traefik.yml configuration file.
Create a traefik.yml file in your ~/zitadel directory:
entryPoints:
  web:
    address: ":80"
    http:
      redirections:
        entryPoint:
          to: "websecure"
          scheme: "https"
  websecure:
    address: ":443"

certificatesResolvers:
  myresolver:
    acme:
      email: "your-email@example.com"
      storage: "acme.json"
      httpChallenge:
        entryPoint: "web"

providers:
  docker:
    endpoint: "unix:///var/run/docker.sock"
    exposedByDefault: "false"
  file:
    directory: "/etc/traefik/conf.d/"
    watch: "true"

api:
  dashboard: "true"
  insecure: "true"
Remember to replace your-email@example.com with your actual email address for Let's Encrypt notifications. This configuration sets up Traefik to listen on ports 80 and 443, redirect HTTP to HTTPS, and use Let's Encrypt to obtain certificates for the domain specified in the ZITADEL service labels.
To enable Traefik and its dashboard, you need to add it as a service in your docker-compose.yml file:
traefik:
  image: "traefik:v2.9"
  container_name: traefik
  command: "--configFile=/etc/traefik/traefik.yml"
  ports:
    - "80:80"
    - "8080:8080"
    - "443:443"
  volumes:
    - "/var/run/docker.sock:/var/run/docker.sock:ro"
    - "./traefik.yml:/etc/traefik/traefik.yml:ro"
    - "./letsencrypt:/letsencrypt"
  labels:
    traefik.enable: "true"
    traefik.http.routers.traefik.rule: "Host(`traefik.example.com`)"
    traefik.http.routers.traefik.service: "api@internal"
    traefik.http.routers.traefik.middlewares: "auth"
    traefik.http.middlewares.auth.basicauth.users: "test:$$apr1$$H6uskkkW$$T.qW7M.eW/yY9w.Z9p441"
Update your docker-compose.yml to include the Traefik service and adjust the ZITADEL service labels to ensure Traefik routes traffic correctly. Also, ensure the ZITADEL_DOMAIN environment variable in the ZITADEL service matches your domain. The traefik.example.com needs to be replaced with a subdomain you've allocated for the Traefik dashboard, or you can route it through the same domain if preferred.
Launching ZITADEL and Initial Configuration
With the configuration files in place, you can now launch ZITADEL and Traefik using Docker Compose. Navigate to your ~/zitadel directory in the terminal and run:
$ docker-compose up -d
The -d flag runs the containers in detached mode. Docker Compose will pull the necessary images and start the services. Traefik will attempt to obtain a TLS certificate for your domain from Let's Encrypt upon its first startup.
Once the containers are running, you can access the ZITADEL login page by navigating to https://zitadel.example.com in your web browser. The first time you access it, ZITADEL will prompt you to complete the initial setup. This involves setting the administrator's username, password, and other organizational details. Treat these credentials with the utmost importance, as they grant administrative access to your IAM system.
After the initial setup, you will be redirected to the ZITADEL dashboard. From here, you can manage users, organizations, applications, and security settings. To test the OIDC integration, you'll need to create an OIDC application within ZITADEL. Navigate to 'Applications' > 'New Application' and choose 'Native' or 'Web' depending on your use case. Configure the Redirect URIs and other relevant settings as per your application's requirements.
This setup provides a self-hosted, secure, and highly configurable IAM solution. It's akin to building your own secure gatekeeper for all your digital services, ensuring only authorized individuals gain access, rather than relying on third-party providers who might have different data handling policies.
Managing Users and Applications
Within the ZITADEL dashboard, you can create and manage users. Users can be added manually or through automated processes. For OIDC applications, you'll generate client secrets and client IDs that your applications will use to authenticate with ZITADEL. The process typically involves:
- Navigating to the 'Applications' section.
- Selecting or creating an application.
- Configuring the application's details, including allowed origins, redirect URIs, and scopes.
- Obtaining the Client ID and Client Secret, which are essential for your application's authentication flow.
ZITADEL's flexibility allows for complex authorization policies, role-based access control (RBAC), and fine-grained permissions. This makes it suitable for a wide range of applications, from small internal tools to large-scale consumer-facing platforms.
The self-hosted nature of ZITADEL means you control your data and your IAM infrastructure. This is a significant advantage for organizations with strict data residency requirements or those seeking to avoid vendor lock-in with proprietary IAM solutions. The open-source model also allows for community contributions and transparency in security.
Consider the security implications carefully. While ZITADEL provides robust security features, the responsibility for securing the underlying infrastructure, managing secrets, and configuring access policies correctly falls on the administrator. Regular updates to ZITADEL, Docker images, and the host operating system are crucial for maintaining a secure environment.